When you click to launch Battlefield 6 and get the dreaded “SecureBoot is not enabled. Learn how to use SecureBoot at [go.ea.com/SecureBoot] (111)” message, it’s more than just annoying — it’s game-ending. This isn’t about graphics cards or RAM anymore: your motherboard’s firmware settings now decide whether you can play. Here’s how to get past it and back into the fight.
Tired of grining in BF6 to unlock vehicles? Buy our leveling services and let us handle it professionally!
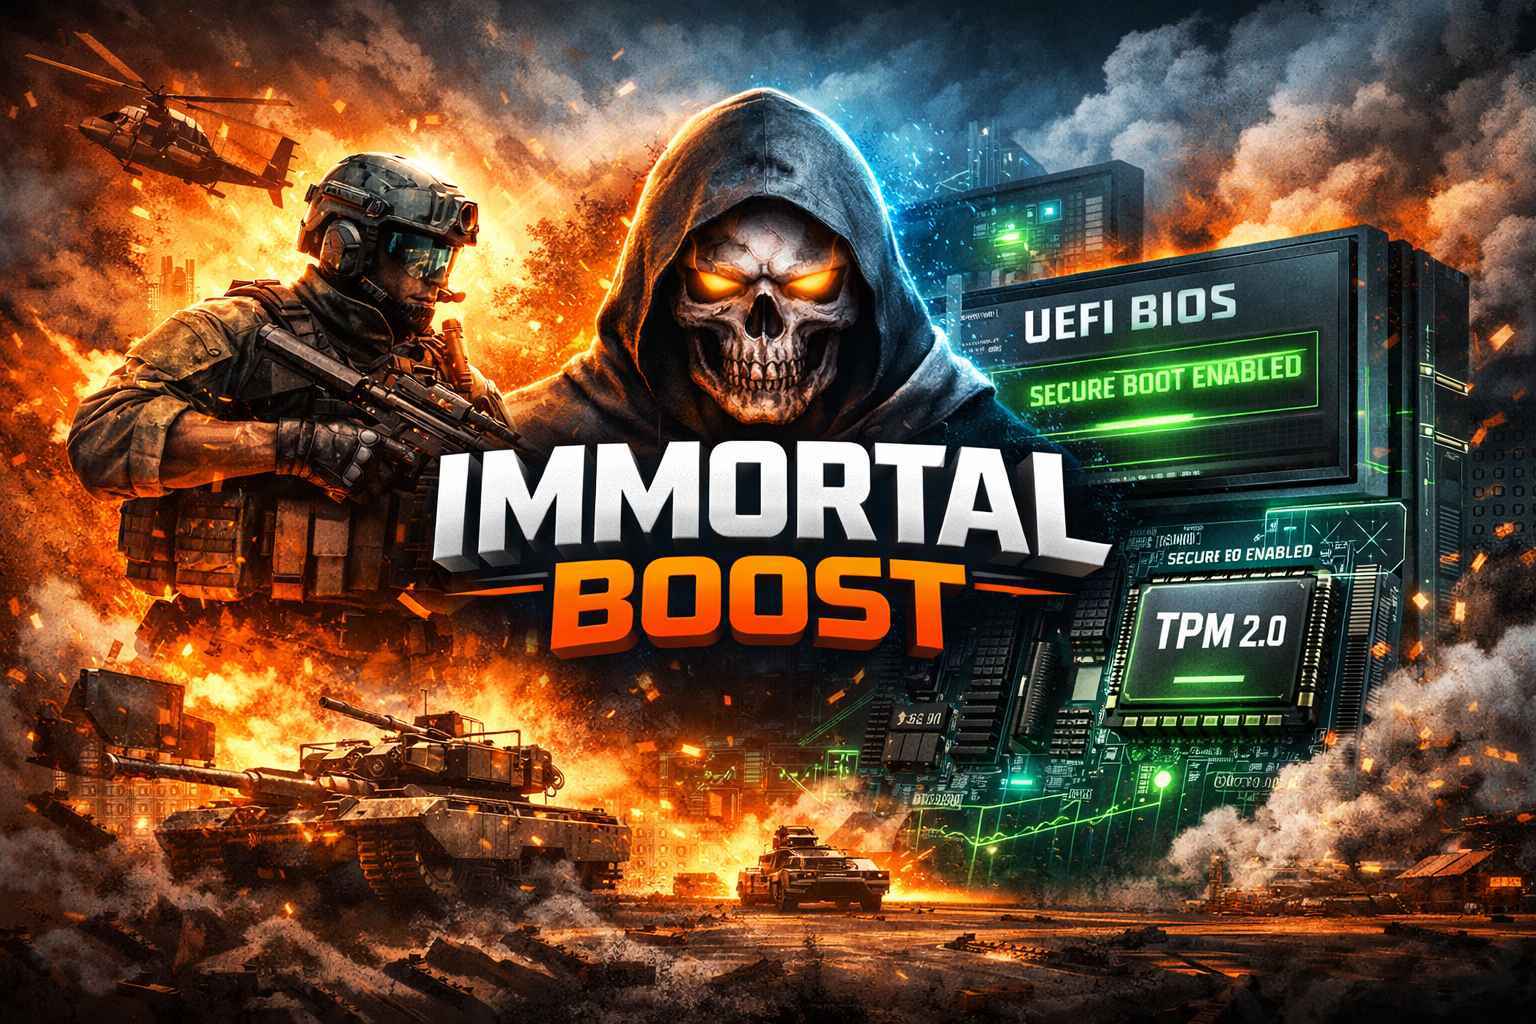
Why This Happens
The game uses EA Javelin Anti‑Cheat, which runs at the kernel level and demands your PC boots in a trusted state. This means three things must be true:
• Your firmware must support and be set to UEFI mode, not the legacy BIOS or CSM mode.
• Your system drive must use the GPT partition table, not MBR (Master Boot Record).
• Secure Boot must be enabled (so only signed, trusted code runs at startup) and ideally a TPM 2.0 (Trusted Platform Module) must be enabled too.
If any of these are missing, Battlefield 6 simply refuses to launch.
Tired of waiting for deals that never drop? Unlock epic warfare instantly with a Battlefield 6 Boosting — fast, affordable, and ready to play.
Related guides for BF6
- Battlefield 6 Maps Guide
- Battlefield 6 Classes Guide
- Battlefield 6 Guide for Beginners
- Best PC & Console Settings
Pre-check: Does Your PC Pass the Basics?
| ✅ What to Check | 🔍 How to Check | ✅ Why It Matters |
|---|---|---|
| BIOS Mode | Press Win + R, type msinfo32, look at BIOS Mode | If it says Legacy you can’t enable Secure Boot properly. |
| Secure Boot State | In same msinfo32, look at Secure Boot State | Must say On. If Off or Unsupported, game will block you. |
| Disk Partition Style | Open Disk Management, right-click your system drive → Properties → Volumes, look at Partition style | Must say GUID (GPT). MBR disks mean legacy setup. |
| TPM 2.0 | Press Win + R, type tpm.msc | Game may still launch in some rare setups without TPM, but it’s strongly recommended. |
Note: At Immortalboost, you can Buy Battlefield 6 Boost at the best prices with fast delivery.
If any of these are failing, keep reading — you’ll fix it step by step.


Step-by-Step: Enable Secure Boot (and TPM) Safely
Here’s the workflow that covers most PCs. Proceed carefully, back up your data, and suspend BitLocker if you use it (switching firmware modes or partition tables can trigger a recovery loop).
1. Backup & prepare
– Create a full backup of important files.
– If BitLocker is enabled: go to Windows Security → Device encryption (or Manage BitLocker) → Suspend protection and export recovery key.
2. Verify current state inside Windows
– Win + R → msinfo32 → check BIOS Mode and Secure Boot State.
– Win + R → tpm.msc → check TPM status.
– Check Disk Management for partition style.
3. If your disk is MBR → convert to GPT (only if necessary)
– Open Command Prompt as Administrator.
– Run: mbr2gpt.exe /validate /disk:0 /allowFullOS (replace disk number if different)
– If validation succeeds: mbr2gpt.exe /convert /disk:0 /allowFullOS
– Reboot and check again.
4. Boot into your BIOS/UEFI firmware
– Restart and press Del, F2, Esc or whichever key your motherboard uses.
– Navigate to Boot / Security / Advanced settings.
5. Switch to UEFI mode (disable Legacy/CSM)
– Find Boot Mode or CSM Support and set it to UEFI only.
– Save and reboot if needed.
6. Enable Secure Boot
– In Boot or Security section locate Secure Boot.
– Set it to Enabled. If greyed out, set OS Type to “Windows UEFI” or similar, then enable.
– Save and reboot.
7. Enable TPM 2.0 (if available)
– In BIOS go to Advanced / Security / Trusted Computing.
– Enable Intel PTT or AMD fTPM or Security Device Support.
– Save and reboot.
8. After reboot, verify states again
– Win + R → msinfo32 → BIOS Mode should be UEFI, Secure Boot State should read On.
– Win + R → tpm.msc → TPM should say “Ready for use” and Specification Version 2.0 (if supported).
– Launch Battlefield 6; the error should be gone.
Common Fixes for Specific Errors
| 🛠 Error Message | 🧠 Cause | ✅ Fix |
|---|---|---|
| “Secure Boot is not enabled” | Secure Boot off, Legacy mode or MBR | Enable Secure Boot, convert to GPT, set UEFI. |
| “Secure Boot Enabled but Not Active” | Secure Boot toggled but keys not active | In BIOS switch mode to Custom → Reset Factory Keys → Standard; save & reboot. |
| Game still blocked after settings correct | Outdated BIOS/drivers, unsigned kernel mode drivers | Update BIOS, update drivers, disable memory integrity temporarily. |
| BitLocker recovery loop after enabling Secure Boot | Boot chain changed and encryption keys invalidated | Suspend BitLocker before changes, or have recovery key ready. |
What If My Hardware Doesn’t Support Secure Boot or TPM?
If your PC is too old (no UEFI, no fTPM/PTT support) you still have options:
– Use cloud gaming (GeForce Now, Xbox Cloud Gaming) and stream the game without local requirement.
– Upgrade to a motherboard with UEFI + TPM support — used boards under ~$50 still exist.
– Consider gaming platforms that don’t require these checks (consoles).
According to Tom’s Hardware, even older CPUs like AMD FX-9590 were able to run Battlefield 6 when paired with motherboards supporting Secure Boot (even without TPM).
Why This Change Matters
Much of the industry (Call of Duty: Black Ops 7, other PC shooters) is moving toward hardware-level anti-cheat measures. The Verge reports that Secure Boot + TPM requirements are being rolled out broadly across PC titles.
The trade-off? Lower cheat rate, higher friction for legit players. If you’re not firmware savvy, you may feel blocked out.
Final Thoughts
Here are the key takeaways:
• Don’t ignore the error message — the fix is at firmware level, not graphics.
• Take your time; backup, convert carefully, and do one setting at a time.
• If you’re building or planning a PC, treat Secure Boot + GPT + UEFI as part of your spec checklist.
Once you’re back in the match, you’ll realize the time spent was worth it — for smooth, cheat-free gameplay.