
ARC Raiders isn’t a “spray until it falls over” shooter. Most ARC units are built to punish bad target selection—thick armor plates, deceptive hitboxes, and attack cycles that only expose vulnerable parts for short windows. If you know where an enemy fails (thrusters, joints, rear canisters, exposed cores), you end fights faster, spend less ammo, and reduce the odds of getting pinned while trying to extract.
This guide organizes enemies by threat role, then breaks each one down into behavior, attack pattern, weakness exploitation, and field-ready tactics you can apply under pressure.
Not sure if boosting is right for you, but tired of slow progression and failed quests in ARC Raiders? ImmortalBoost’s ARC Raiders Trial Boost lets you experience faster, safer progression before committing fully.
Related Guides:
Quick Reference Tables
Enemy vs Weakness Overview
| Enemy | What to Target | How to Exploit It Fast |
|---|---|---|
| Wasp | Thrusters | Shoot the hover jets while it pauses to fire |
| Hornet | Thrusters | Break two thrusters to drop it instantly |
| Sentinel | Rear capsule | Flank and hit the vulnerable unit behind the arm |
| Rocketeer | Thrusters | Use cover, then disable hover jets |
| Pop | Unarmored body | Shoot early before it closes to detonate |
| Tick | Core before latch | Kill at range before it jumps to your head |
| Turret | Low health windows | Peek after bursts and delete quickly |
| Fireball | Exposed core | Punish during flame attack while core is open |
| Surveyor | Core during sky-scan | Wait for the blue beam, then shoot the exposed center |
| Leaper | Legs/joints | Burn/stagger, then break joints and finish |
| Bastion | Legs + rear canister | Cripple mobility, then hit the yellow rear canister |
| Snitch | Thrusters | Drop it before it calls reinforcements |
| Bombardier | Yellow knee joints + rear cylinder | Immobilize via knees, then punish exposed sections |
| Spotter | Fragile frame | Only shoot if it’s actively feeding your position |
| The Queen | Leg joints → central core | Stay back, break joints, then focus the core during openings |
| Matriarch | Faceplates → central glowing core | Strip face armor first, then dump damage into the core |
This table is meant for moment-to-moment decisions. When you see an ARC unit, you should already know the “one thing that matters” to shoot, and what combat behavior creates the safest opening.
Enemy Type vs Recommended Tactic
| Enemy Type | Priority | Best Engagement Plan |
|---|---|---|
| Recon / Callers (Snitch, Spotter) | Very High | Delete fast or break line of sight to prevent tracking |
| Swarm Flyers (Wasp, Hornet) | High | Control space, shoot thrusters, don’t get distracted mid-fight |
| Suicide Rollers (Pop) | High | Kill early at range; don’t backpedal into dead ends |
| Flamers / Area Denial (Fireball, Queen) | High | Fight from cover and angles; punish attack windows |
| Static Defenses (Sentinel, Turret) | Medium | Use flanks and timing; don’t ego-peek sustained fire |
| Heavy Assault (Bastion, Bombardier, Matriarch) | Extreme | Cripple mobility first, manage add pressure, commit only with cover |
Use this table to set target priority when multiple enemies are active. In extraction fights, the unit that changes the battlefield (alerts, mortars, flamethrowers, suppression) should be handled before the one that’s merely present.
Light Drones and Recon Threats
Wasp
Behavior overview
Wasps roam in small clusters and patrol open lanes. They’re most dangerous when they stack angles and force you to fight in the open.
Attack pattern
A Wasp locks on with a red laser, then fires a projectile. During that firing sequence, it’s momentarily committed and easier to track.
Weakness and how to exploit it
Their hover thrusters fail quickly. Focus fire into the jets rather than spreading damage across the body.


Tactical advice
- Use short, controlled bursts at the thrusters when they pause to shoot.
- If you’re clearing a group, keep your reticle at “thruster height” and sweep targets without swapping aim points.
- If you’re taking fire from multiple angles, break line of sight first—Wasps punish standing still.
Hornet
Behavior overview
Hornets apply pressure through mobility. They don’t need to delete your health bar to ruin a fight—shock effects and constant movement are enough to break your rhythm.
Attack pattern
They track targets with a laser and fire shock darts while staying mobile, which makes body shots feel inconsistent if you don’t anchor your aim.
Weakness and how to exploit it
Destroy two thrusters and the Hornet drops immediately. Don’t chase center-mass damage—go straight for what holds it in the air.
Tactical advice
- Fight Hornets from cover and punish strafe patterns with burst timing.
- If your weapon kicks hard, reduce your engagement distance so your shots stay on the thrusters.
- Clear Hornets early when other ARC units are present; shock disruption makes every other fight worse.
Snitch
Behavior overview
Snitch units exist to escalate the encounter. They don’t need to damage you to make you lose the raid.
Attack pattern
They report your position and trigger reinforcements once you’re detected.
Weakness and how to exploit it
Like other flyers, the thrusters are the failure point. Drop it quickly before it finishes its call.
Tactical advice
- Treat it as a “timer enemy.” Once it’s active, you either delete it or reposition to break its tracking.
- Long-range weapons make this trivial; don’t waste explosives that you may need later.
Spotter
Behavior overview
Spotters are support assets—small, fast, and built to keep you “painted” for heavier units.
Attack pattern
They don’t directly attack, but they feed your position to enemies that do.
Weakness and how to exploit it
They’re fragile. If you commit to shooting one, it doesn’t take much damage to remove it.
Tactical advice
- If a Spotter is actively tracking you, eliminate it before it stabilizes the enemy’s aim.
- If you can avoid line-of-sight instead, do that—firing can give away your position to other threats nearby.
Rolling Units and Close-Range Kill Threats
Pop

Behavior overview
Pop units are pure proximity punishment. They exist to force you off cover and into bad movement.
Attack pattern
They accelerate toward you with escalating audio/visual cues and detonate at close range.
Weakness and how to exploit it
No meaningful armor—simple gunfire deletes them if you shoot early.
Tactical advice
- Don’t “kite” Pops through tight rooms. Kill them at the first sight line.
- If multiple threats are active, prioritize Pop units before they turn your cover into a trap.
Fireball
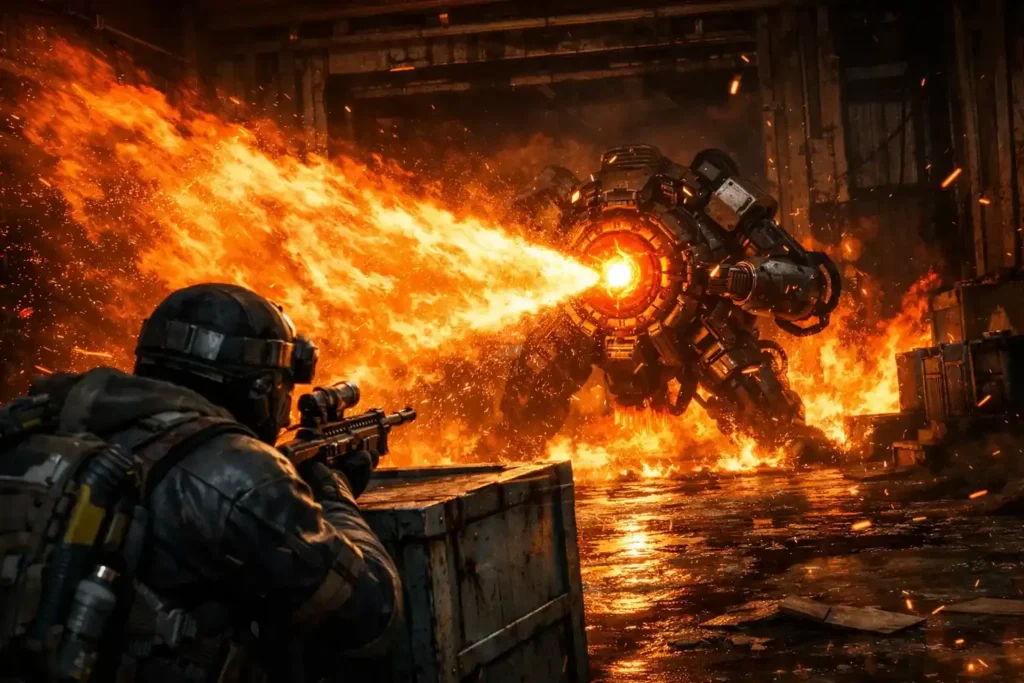
Behavior overview
Fireball units push you out of safe positions. They don’t need to chase perfectly—area denial does the work.
Attack pattern
They advance while using a flamethrower, creating burn zones that punish wide swings and panic movement.
Weakness and how to exploit it
During the flame sequence, the core becomes exposed. That’s your damage window.
Tactical advice
- Fight them from cover with short peeks; don’t take the flamethrower head-on.
- Wait for the flame commitment, then dump damage into the exposed core.
- Avoid corners where burn zones block your escape route.
Tick
Behavior overview
Ticks are ambush predators. Their threat spikes the moment they get within leap distance.
Attack pattern
They make a robotic cue, then jump onto your head and drain health and shields. You can detach them via the interaction key, but doing so costs time and focus.
Weakness and how to exploit it
Kill them before they attach. Their core is the easiest target at range.
Tactical advice
- Treat the audio cue as your warning to stop scanning and start aiming.
- In confined interiors, pre-aim common corners to prevent surprise leaps.
- If a Tick attaches, detach immediately—staying aggressive while latched usually snowballs into a loss.
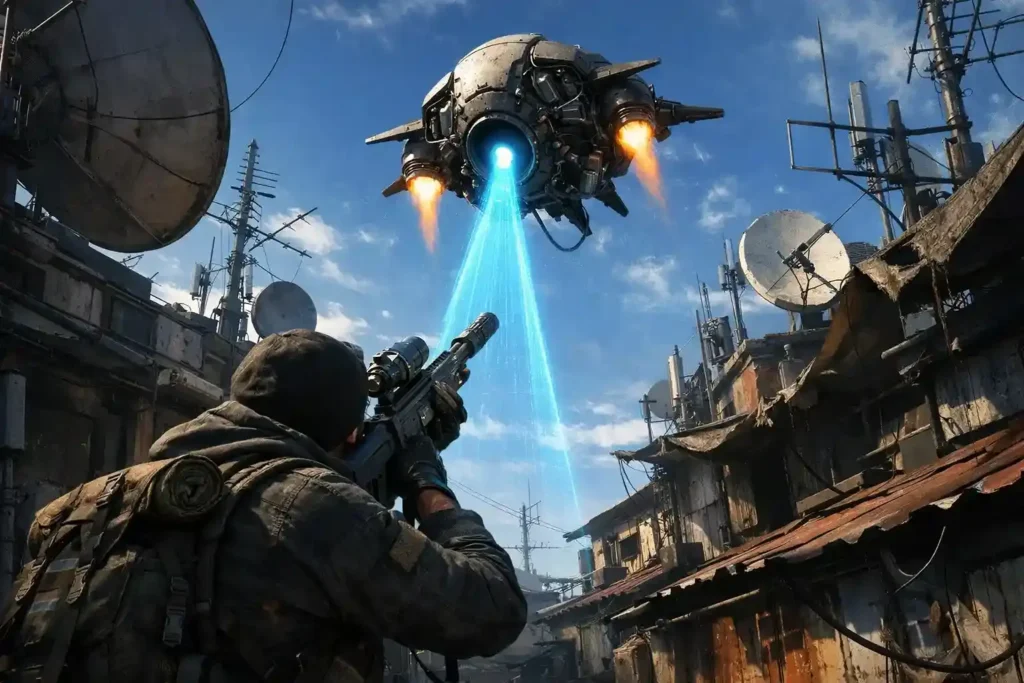
Surveyor

Behavior overview
Surveyors aren’t built to hunt you aggressively, but they react sharply when approached or attacked.
Attack pattern
When alert, it performs a scan marked by a blue beam to the sky.
Weakness and how to exploit it
The scan is your opening—its core becomes vulnerable while the unit commits to the beam.
Tactical advice
- Don’t waste ammo on the armored shell outside the scan window.
- Hold your angle, let it commit to scanning, then shoot the exposed center.
Turrets and Area-Control Defenses
Sentinel
Behavior overview
Sentinels control lanes and rooftops, punishing players who linger in open sight lines.
Attack pattern
They track with prominent lasers, keep tracking as you move, and fire at your last known location if you break line-of-sight late.
Weakness and how to exploit it
A rear-mounted capsule behind the turret’s arm is the vulnerable component. Hitting it deals meaningful damage quickly.
Tactical advice
- Don’t trade shots from the front. Reposition until you can see the rear.
- If you must peek, do it briefly—Sentinels punish long exposures.
- Elevation changes (stairs, adjacent rooftops) are often safer than crossing open ground.
Turret
Behavior overview
This defense unit is less “hunts you” and more “punishes you if you walk into its lane.”
Attack pattern
It fires fast bursts and relies on detection through scans or noise.
Weakness and how to exploit it
It doesn’t have deep durability. The simplest approach is timing: wait for a burst to finish and delete it during the lull.
Tactical advice
- Peek discipline matters more than raw aim here.
- Use cover to force the turret to waste its burst, then take the opening.
- Avoid wide swings that expose you during sustained fire.
Mobile Assault Units and Heavy Walkers
Rocketeer

Behavior overview
Rocketeers are built to end bad positioning fast. If you’re exposed when it commits, you pay for it.
Attack pattern
It launches rocket volleys after locking in, making open ground extremely unsafe.
Weakness and how to exploit it
Disable the thrusters. Once the hover system fails, the drone goes down.
Tactical advice
- The first step is always cover. Do not try to “outshoot” rockets in the open.
- Peek only long enough to land thruster hits, then tuck back in.
- If the area lacks hard cover, disengage—this enemy is designed to punish greed.
Leaper

Behavior overview
Leapers pressure you through reach. They can cover distance quickly and disrupt stable aim with shockwave effects.
Attack pattern
They launch high arcs, then slam into or near your position, often chaining movement to keep you displaced.
Weakness and how to exploit it
Their legs and joints are vulnerable, and fire-based tools help create safer damage windows.
Tactical advice
- Use blaze grenades to force predictable movement and chip them down while they’re committed.
- Once staggered or slowed, break joints and finish with heavy ammo.
- Don’t stand in open ground where a leap can land directly on you—fight near cover you can pivot around.
Bastion
Behavior overview
Bastion is slow, but it dominates space with suppression. If it catches your last position, it can erase you quickly.
Attack pattern
It signals with a harsh screech, then unloads sustained fire toward where it last saw you.
Weakness and how to exploit it
Two targets matter: leg joints to remove mobility, and a yellow rear canister for direct damage.
Tactical advice
- Never stay in the same cover after it acquires you—move after each burst.
- Shoot legs first to reduce its ability to re-angle and keep pressure.
- Once movement is limited, rotate to the rear and punish the yellow canister.
Bombardier

Behavior overview
Bombardiers are artillery units that turn open areas into death zones—especially when supported.
Attack pattern
They fire mortar rounds with high accuracy when spotter data is available, forcing constant relocation.
Weakness and how to exploit it
Target the yellow knee joints to immobilize it. A yellow rear cylinder also takes direct damage, and immobilization exposes softer inner sections for follow-up damage.
Tactical advice
- If spotters are active, your first priority is breaking that information chain.
- Cripple the legs first—an immobilized Bombardier is far easier to finish safely.
- Use cover rotations; standing still invites mortar punishment.
Boss-Class ARC Units

The Queen

Behavior overview
The Queen is a zone-control boss. It doesn’t need to chase you to win—it reshapes the arena until you run out of safe positions.
Attack pattern
- Mortar volleys that land around your position and ignite the area
- A line-of-sight laser that scorches ground and punishes careless movement
- Close-range responses like EM pulses or ground slams if you try to rush
Weakness and how to exploit it
The safest route is mechanical: break leg joints to limit movement and reduce pressure, then shift focus to the central core during openings.
Tactical advice
- Play at range and rotate cover after each attack cycle.
- Aim discipline matters: joints first, core only when you have a clean window.
- Avoid “closing distance” unless you’re forced—its close-range options punish rush attempts.
Matriarch

Behavior overview
Matriarch is an encounter manager: it pressures you directly and also creates chaos by adding threats around you.
Attack pattern
- Homing missile barrages
- Gas mortars that reduce stamina after detonation
- Flashbang-like effects that briefly blind
- An energy shield that blocks incoming fire (but can be bypassed by walking into it)
- Deployment of other ARC units (excluding The Queen)
Weakness and how to exploit it
You can’t rush the core immediately. First you must break faceplates protecting the front, which then exposes the central glowing core.
Tactical advice
- Treat this as a two-stage fight: strip armor → destroy core.
- Manage adds continuously—ignoring spawns turns the fight into a collapse.
- If the shield is eating your shots, reposition and push through the barrier edge to keep pressure where it counts.
- Save heavy ammo for the moment the core becomes accessible; that’s where time-to-kill matters most.
Practical Priorities to Remember
When fights get messy, your success depends on simple rules you can execute without thinking:
- Flyers go down when thrusters fail.
- Heavy walkers become manageable when legs/joints are broken.
- Boss encounters are won by cover rotation and damage windows, not constant firing.
- Recon units escalate fights—removing them often prevents the fight from becoming unwinnable.
If you want consistent extractions, make weakness targeting your default. In ARC Raiders, that’s the difference between surviving a patrol and getting pinned until you run out of options.