
New content in games keeps them alive — it brings players back, keeps them engaged, and introduces new challenges. Final Fantasy XIV’s Arcadion Cruiserweight Raid is one of those game-changing updates, offering new mechanics, bosses, and rewards that make every fight worth the grind.
This guide covers everything you need to know — how to unlock the raid, the required item levels, each boss’s mechanics, and what rewards you’ll earn along the way.
Skip the endless wipes and grind. Experience fast and secure FF XIV Raid Boosting with Immortalboost — and clear every challenge like a pro.
Related Guides
What Is the Arcadion Cruiserweight Raid?
The Arcadion Cruiserweight Raid (AAC) is the second raid tier in the Arcadion series from the Dawntrail expansion. It features four unique bosses, each with distinct phases and mechanics, and offers two difficulty modes — Normal and Savage.
Savage mode is designed for advanced players, featuring tighter timings and better loot, including high-tier gear and upgrade tokens. Released in March 2025, the Cruiserweight Raid ties deeply into the Dawntrail storyline, extending both narrative and gameplay progression.

Raid Unlock Requirements
| Mode | Requirements | NPC / Quest | Notes |
|---|---|---|---|
| Normal | Complete “Souls Under Siege” (after “Neoteric Witch”) | Speak to Yaana, then Stylish Stranger | Sequential unlock by floor |
| Savage | Complete “The Lone Wolf” quest | Speak to Yaana | No need to clear earlier Savage tiers |
Item Level Requirements
| Floor | Minimum iLvl | Recommended iLvl | Notes |
|---|---|---|---|
| M1 | 730 | 735 | Entry-level gear check |
| M2 | 735 | 740 | Heavier AoE focus |
| M3 | 740 | 745 | High healing and awareness required |
| M4 | 740 | 750 | Final boss tier, endurance-heavy |
All Bosses in the AAC Cruiserweight Raid
The Arcadion Cruiserweight Raid features four bosses — each testing a different skill set. Positioning, timing, and pattern recognition are key across every encounter.
| Boss | Theme | Key Mechanics | Highlights |
|---|---|---|---|
| Dancing Green | Rhythmic Frog Duel | Tile patterns, spotlight debuffs | Movement-based, high coordination |
| Sugar Riot | Chaotic Artist | Painted AoEs, split arenas | Visual puzzle mechanics |
| Brute Abombinator | Arena Brawler | Knockbacks, melee AoEs | Reaction-heavy tank checks |
| Howling Blade | Duelist | Clones, shrinking arena | Precision dodging and mitigation |
Boss 1: Dancing Green
The first boss, Dancing Green, is a flamboyant frog with rhythmic, tile-based mechanics. The fight happens on an 8×8 grid where the wrong move can mean instant death.
Phase One involves half-arena cleaves — move to the safe side. Watch wrist flicks to predict direction changes and group up for stack markers.
Phase Two introduces spotlights and vertical AoEs — move into safe columns and time your debuff cleanses correctly.
In the Final Phase, two frogs cross the arena, creating overlapping AoEs. Watch movement cues during “Disco Infernal” to avoid stacking damage and maintain uptime.
Boss 2: Sugar Riot
Sugar Riot is a painter whose attacks come to life as explosive art. Each drawing has different timing and effects.
In Phase One, bombs explode where they jump, not where they land. Arrows show AoE direction, and you must find the overlap between safe zones. Tanks need to stack and mitigate during double busters.
Mid Phase introduces sand that slows movement and random cactus AoEs — stay mobile.
In the Final Phase, the arena splits into two halves with water and grass. Water resists fire; grass resists lightning. During “Taste of Fire,” stay in water; for “Taste of Thunder,” stay out.
Boss 3: Brute Abombinator
A close-combat powerhouse with constant AoEs and positional traps.
In Phase One, sword attacks require moving close, and club swings need distance. “British Swing” needs tanks to stack.
Phase Two adds wall tethers and rotating AoEs. Survive “Power Slam” to transition.
Final Phase combines sword and club mechanics simultaneously. Dodge “Lashing Lariat,” stack centrally, and repeat patterns for victory.
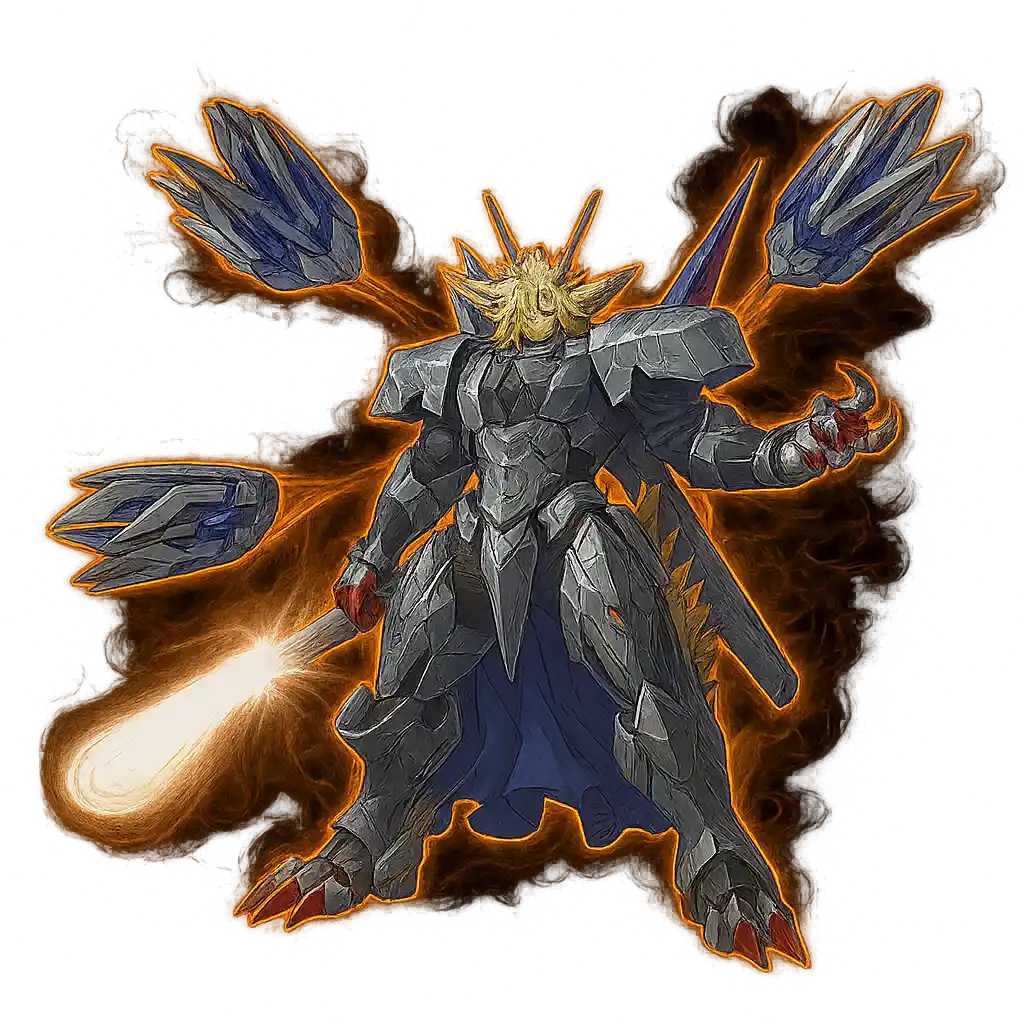
Boss 4: Howling Blade
The final boss, Howling Blade, is a duelist with blinding speed. This fight is all about reaction and spatial awareness.
Phase One opens with “Extraplanar Pursuit,” dealing raid-wide damage. Avoid clone jumps and reposition between explosions.
Phase Two shrinks the arena and introduces “Ravenous Sabe” — a five-hit combo needing heavy mitigation. “Wolf Reign” summons two dragon heads firing line AoEs — dodge them before handling follow-up attacks.
The Final Phase repeats earlier patterns but faster. Success depends on timing and cooldown coordination.
Rewards and Why It’s Worth Doing
The Cruiserweight Raid isn’t just about gear — it’s about mastery. You’ll earn:
- High-tier Dawntrail gear and upgrade tokens
- Experience and raid progression
- Unique glamour items and crafting materials
- Deep story content connected to Dawntrail’s world
Beyond rewards, this raid sharpens your reflexes and teamwork, making you a stronger player for future expansions.
FAQ
How do I unlock the AAC Cruiserweight Raid in FFXIV?
Complete “Souls Under Siege” after “Neoteric Witch,” reach Level 100, and talk to Yaana, then the Stylish Stranger. For Savage mode, complete “The Lone Wolf” at Level 100.
How many bosses are in the AAC Cruiserweight Raid?
Four — Dancing Green, Sugar Riot, Brute Abombinator, and Howling Blade.
Is the AAC Cruiserweight Raid worth doing?
Absolutely. It’s one of the best ways to earn high-level gear and test your skill in the Dawntrail expansion.
Do I need to complete Normal before Savage?
No, Savage can be unlocked independently once prerequisites are met.
When was this raid released?
It was introduced in March 2025 as part of the Dawntrail expansion content lineup.