
Delta Force Hazard Operations is one of those game modes that instantly separates casual players from tactical thinkers. On the surface, it may look like a simple shooter mode where you drop in, fight enemies, and collect loot. But once you actually start playing, you quickly realize it’s built on something deeper risk, decision-making, and survival under pressure.
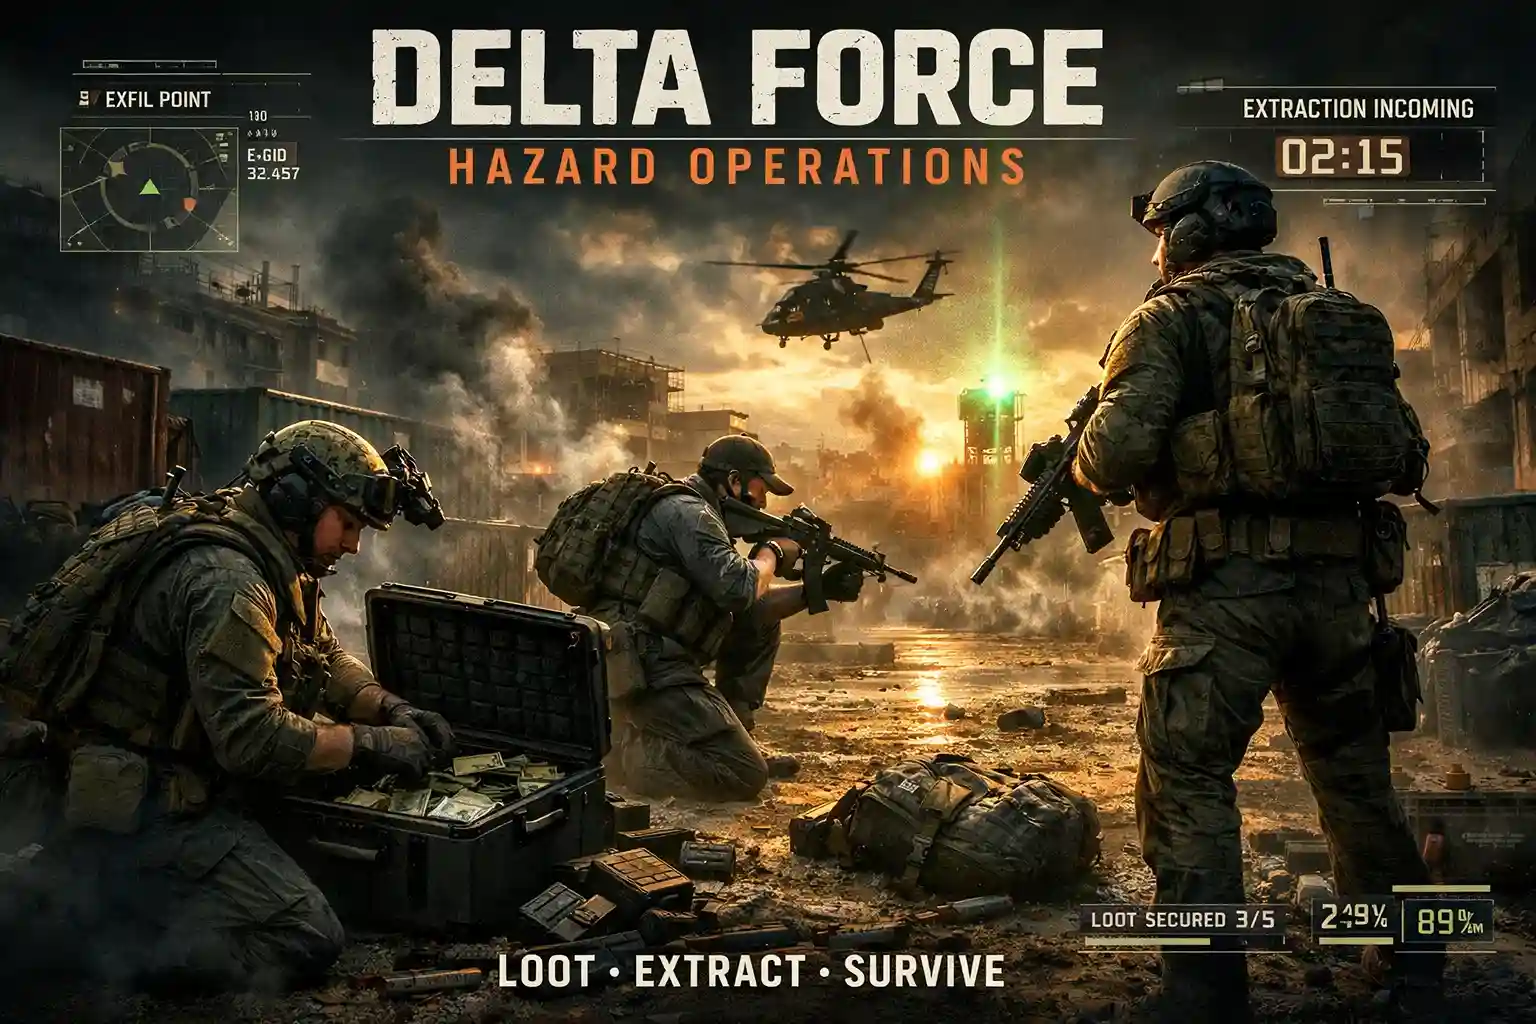
If you’ve played extraction shooters like Escape from Tarkov or Arc Raiders, the core idea will feel familiar. But Delta Force brings its own structure, pacing, and accessibility to the genre. It gives players multiple ways to engage with the game — whether through PvP, PvE, or a mix of both — and Hazard Operations sits right at the center of that experience.
This guide breaks down everything you need to understand about Hazard Operations — from how the mode works, to missions, maps, and most importantly, how to actually survive and extract consistently.
Constantly getting wiped in Zero Dam before you can extract your loot? Zero Dam Raid gives you a safer, faster way to complete objectives and secure high-value rewards without the chaos.
Related Guides:
What Is Hazard Operations in Delta Force?
Hazard Operations is Delta Force’s primary PvPvE extraction mode, where players are dropped into large maps and must survive long enough to complete objectives and extract safely.

At its core, the mode is built around three key elements:
- Looting valuable items
- Surviving encounters (AI + players)
- Extracting before time runs out
You typically deploy in a 3-player squad, although solo play is also possible. Once inside the match, you are free to explore the map, engage enemies, and pursue objectives — but every action comes with risk.
The most important rule is simple:
If you die before extraction, you lose everything you collected.
That single mechanic is what makes Hazard Operations intense. Every decision — whether to fight, loot, or retreat — directly impacts your success.
Understanding the Hazard Operations Gameplay Loop
To perform well in Hazard Operations, you need to fully understand how each match flows. The structure is simple, but mastering it is where most players struggle.
1. Deployment Phase
You enter the match with:
- Your selected operator
- Your loadout and gear
- A 3-player team (or solo setup)
The map you deploy into could be something like Zero Dam or Space City, each with different layouts and combat dynamics.
2. Exploration and Looting
Once deployed:
- You start searching for loot
- You explore buildings, zones, and hotspots
- You gather mission-specific items or high-value resources
Looting is not just about grabbing everything — it’s about prioritizing value vs risk.
3. Engagement Phase (PvE + PvP)
You will encounter:
- AI-controlled enemies (PvE)
- Other players (PvP)
This is where most players make mistakes. Not every fight is worth taking.
4. Objective Completion
Each match includes different objectives, such as:
- Killing enemies
- Collecting specific items
- Securing high-value targets like MandelBrick
Objectives are what drive your progression and rewards.
5. Extraction Phase
The final and most important step:
- Reach an extraction point
- Survive until extraction completes
- Leave the map with your loot
Fail here, and everything you’ve done is lost.
Core Objectives You Need to Understand
Hazard Operations isn’t just about random gameplay — it’s structured around specific objectives that define each match.
MandelBrick Objective (High Risk, High Reward)
MandelBrick is one of the most valuable targets in the game.
- You must locate and secure it
- Once picked up:
- Your position becomes visible to other players
- You become a moving target
This creates a high-pressure scenario where survival becomes much harder.
Extraction-Based Objectives
These involve:
- Collecting items
- Completing conditions
- Safely extracting them
This is the most consistent way to progress.
Combat Objectives
Some missions require:
- Eliminating enemies
- Clearing zones
- Engaging both AI and players
These are usually early or introductory objectives.
All Mission Types Explained in Detail
Each mission type serves a purpose — either teaching mechanics or increasing difficulty.
First Battle (Intro Combat Mission)
- Map: Zero Dam
- Objective:
- Kill 5 enemies
- Extract safely
This mission introduces:
- Basic combat flow
- Extraction mechanics
Medical Security (Resource-Based Mission)
- Focus: Collect medical supplies
- Goal: Extract them safely
This mission teaches:
- Resource prioritization
- Survival over aggression
Zero to Hero (Survival Mechanics)
- Purpose: Introduce healing system
- Task: Heal after taking damage
This is a simple but important mission that builds foundational understanding.
MandelBrick Hunt (PvP Pressure Mission)
- Objective: Secure MandelBrick
- Risk:
- Your location becomes visible
This mission forces:
- Player vs player engagement
- Strategic movement and positioning
Extraction Tasks (Core Gameplay Loop)
- Collect valuable items
- Avoid enemies
- Extract within time
This is the purest form of Hazard Operations gameplay.
Boss Fights (PvE Challenge)
- Fight elite AI enemies
- Higher difficulty
- Better rewards
Boss fights test:
- Team coordination
- Resource management
Hazard Operations Maps and How They Impact Gameplay
Maps are not just environments — they define how you play.
| Map Name | Gameplay Impact |
|---|---|
| Zero Dam | Tight spaces, multi-level combat, close engagements |
| Space City | Vertical gameplay, high mobility, tactical positioning |
| Leyali Grove | Open terrain, favors long-range combat |
| Brakkesh | Close-quarter combat, fast-paced fights |
Why Map Knowledge Matters
Understanding maps helps you:
- Predict enemy movement
- Control positioning
- Choose better fights
- Plan extraction routes
A player with strong map knowledge will outperform even mechanically skilled players.
Team Roles: The Foundation of Winning
Hazard Operations is not meant to be played like a solo hero game — it’s a team-based tactical experience.
Ideal Team Setup
1. Damage Dealer (Assault Role)
- Best aim in the squad
- Leads engagements
- Handles enemy pressure
2. Recon
- High game awareness
- Provides information
- Controls positioning
3. Support (Medic Role)
- Keeps the team alive
- Manages healing and sustain
- Avoids frontline fights
Key Insight
Most teams fail because:
- Everyone wants to fight
- No one plays support
- Roles are not defined
A structured team wins more consistently.
Situational Awareness: The Real Skill Gap
The biggest difference between average and high-level players is decision-making.
In Hazard Operations, every fight comes with a cost.
Before Taking Any Fight, Ask:
- Do I need this fight?
- What do I gain?
- What do I risk losing?
- Is extraction nearby?
If the risk is higher than the reward, don’t engage.
Stealth vs Aggression: What Actually Works
Many players treat Hazard Operations like a traditional shooter. That approach fails quickly.
Why Aggression Fails
- Draws attention
- Increases risk
- Leads to unnecessary deaths
Why Controlled Play Wins
- Keeps you alive longer
- Protects your loot
- Improves extraction success rate
This doesn’t mean camping — it means:
- Choosing fights wisely
- Moving strategically
- Avoiding unnecessary exposure
Common Mistakes Players Make
These mistakes are extremely common, especially among new players:
- Taking fights that are not necessary
- Ignoring extraction timing
- Over-looting and getting greedy
- Splitting from the team
- Not using safe storage properly
Fixing just these mistakes can drastically improve your performance.
Advanced Tips to Improve Your Success Rate
If you want to consistently extract and progress faster, focus on these:
1. Prioritize Survival Over Kills
Kills don’t matter if you lose your loot.
2. Plan Extraction Early
Always know:
- Where your extraction is
- How long it will take to reach
3. Use Safe Storage Wisely
Store:
- High-value items
- Mission-critical resources
4. Control Your Engagements
Fight only when:
- You have advantage
- You need to
5. Stick With Your Team
Solo plays often lead to unnecessary losses.
Solo vs Squad Play: What’s Better?
Squad Play
- Safer
- Better coordination
- Higher survival rate
Solo Play
- Higher risk
- More control
- Better for experienced players
If you’re new, always start with squads.
Conclusion
Hazard Operations in Delta Force is not about who gets the most kills — it’s about who makes the best decisions.
The players who succeed are the ones who:
- Understand the gameplay loop
- Use map knowledge effectively
- Control their engagements
- Extract consistently
If you approach this mode like a standard shooter, you’ll struggle. But if you treat it like a tactical survival experience, everything starts to click.
Apply these strategies, stay disciplined, and you’ll start seeing better results — not just in surviving, but in dominating Hazard Operations matches.
FAQ: Delta Force Hazard Operations
How do you play Hazard Operations in Delta Force?
Deploy in a 3-player squad, collect valuable loot, complete objectives, and extract safely before time runs out to keep your gear.
How do operations work in Delta Force?
Operations are PvPvE missions where players fight both AI enemies and real players while trying to complete objectives and extract successfully.
Can you play Hazard Operations solo?
Yes. Disable squad fill before starting a match to enter solo.
How to level up fast in Hazard Operations?
- Complete objectives consistently
- Use XP/Merit boosts
- Focus on high-reward missions
What is the fastest TTK weapon in Delta Force?
The MCX LT assault rifle currently offers one of the fastest time-to-kill (TTK) in the game.