Even though mobile phones are the biggest platform for games, they are not considered a genuine part of gaming, or their users don’t receive the same treatment as other gamers. Now, there are several reasons for that, but the main one is that mobile phones are not gaming devices. Because when you play a game on a gaming console or even on a pc, you actually buy things or dedicate something of your life to that hardware to play games on it. However, on mobiles, there are no specific criteria; you simply pick up your phone and download whichever game you like, and most likely it will work just fine.
Now there are some exceptions to this rule, but most often than not, this is the rule. Because of this “lack of dedication mobile players do not get the same level of regard as normal Gamers, and most of the gaming community do not even consider them a gamer for the reasons I have stated above.
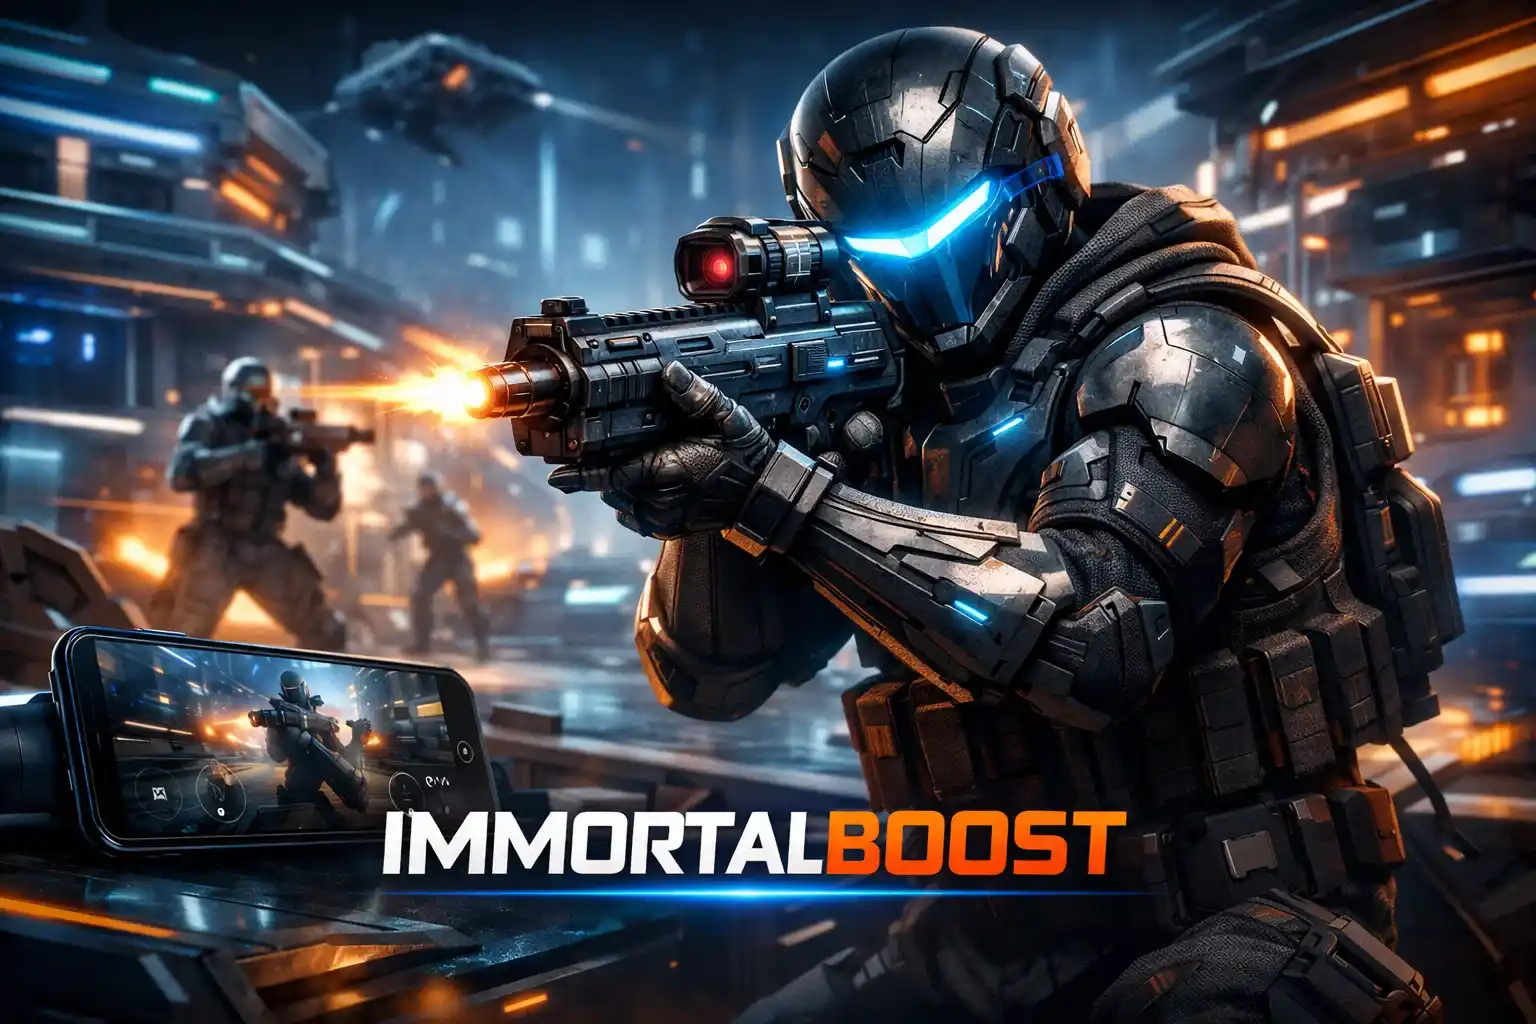
Stop wasting hours grinding—get instant results with Destiny Rising boosting from real professionals. Fast delivery, secure service, and guaranteed satisfaction.
However, regardless of what anyone says, if you play games, then you’re a gamer. In this blog, we are going to talk about the newest first-person shooter for them. In this blog, we are going to talk about Destiny Rising and its best settings. So whenever you play the game after reading and applying things from this Best Settings Guide, you’re not going to be held back by your in-game settings.
Performance:
Mobile:
Now we are going to give a crack at the graphical performance of the game because the better it is, the better the rest of the settings will feel, but if your gameplay is choppy, even the best controls can not save you. So here’s what your in-game graphics settings should look like:
- Graphics Mode: Custom
- Rendering Quality: Ultra
- Frame Rate: High
- Auto-Adjust Graphics when Lagging: On
- Pop-up Reminder for Auto-Adjustment: On


Now these are the best graphics settings you’re going to get. I know this might seem underwhelming, but since it is a mobile game, there is not much to do with the settings.
Also, you need to make sure that your device is at least this powerful or better to run the game smoothly.
| Platform | Requirements |
| Android | Snapdragon 845 or Mediatek Helio G99 or better. |
| iPhone | iPhone 8 or newer |
| iPad | iPad (8th generation) or newer iPad Pro 12.9-inch (2nd generation) or newer iPad Pro 10.5-inch (2017) or newer iPad Pro 11-inch (1st generation) or newer iPad mini (5th generation) or newer iPad Air (3rd generation) or newer |
PC Emulator:
With the help of an emulator, you could also play the game on your pc, and in my opinion, if you have a decent PC and you like the game, then it should be the only way you play because it blows any mobile device’s performance out of the water. So here’s what your pc should be capable of running the game on either BlueStacks or MuMuPlayer. But for the sake of simplicity, let’s just go with the Bluestacks emulator settings.
- Set your emulator to Pie 64-bit
- Use the 4-8 CPU Cores, 8 GB RAM
- Turn on Vulkan for the graphics renderer in High Performance mode
- enable High Frame Rate
- Set the resolution to your preferred one or your monitor’s native one.
- View mode: Landscape
- Pixel density: 320 DPI
Now the game’s in-game graphical settings are going to be the same as we have set for the base mobile version of the game. Since they are indeed the best ones the game has to offer. Now you have to make sure that your PC or Laptop is more or equally capable than the minimum system requirements for Bluestacks.
- OS: Windows 10 or newer
- CPU: Intel or AMD’s quad-core processor
- RAM: At least 12 GB
- Storage: 5 GB free disk space.
- Graphics: Current drivers from Microsoft or your chip maker
These are the video settings you should be using for destiny rising while playing it on the bluestack emulator.
Controls:
Now the second and most important part of the game’s settings, because after the performance of the game, you could take advantage by having the most up-to-date and advantageous control settings.
Since there are multiple settings that we have to look at, we are going to talk about the Weapons first and then the firing mode, and so on.
Weapons:
Tuning the weapons settings will remove any unnecessary movements, and it will also help you to avoid interruptions. All in all, it will improve your gameplay a bit.
| Recommended Mode | Recommended Value: |
| Aim Assist | Enhanced |
| Auto-Fire at Barricades | On |
| Stop Reloading on Sprint | Off |
| Out-of-Ammo Auto-Swap | On |
| Sword Guard Interaction | Tap To Switch |
| Right Fire Camera Shift | On |
| Left Fire Visibility | Always |
| Left Fire Button | Always Hip-Fire |
| Semi-Transparent UI when ADS | On |
| ADS Button Camera Shift | Off |
| ADS after Reload | On |
| Simultaneous Aim and Fire | On |
| ADS Mode | Tap |
| Super Melee Attack Mode | Attack Immediately |
| Shot Interval Hint | On |
| Melee Weapon Attack Direction | Follow Movement |
| Sniper Rifle ADS Settings | 30 (Iron Bar/Instances/Shifting Gates) |
Firing Mode:
Now let’s talk about the firing mode of the game because it fine-tunes how your gun reacts when you press or hold down its respective buttons. Each weapon class has a few different options, and as always, default settings aren’t the best ones. So here you go, about the best one you should use.
| Weapon Class | Mode |
| Auto Rifle | Tap to Aim and Fire |
| Pulse Rifle | Tap to Aim and Fire |
| Scout Rifle | Tap to Aim and Fire |
| Hand Cannon | Hold to Aim Release Fire |
| Sniper Rifle | Hold to Aim Release Fire |
| Shotgun | Tap to Aim and Fire |
| Submachine Gun | Tap to Aim and Fire |
| Sidearm | Tap to Aim and Fire |
| Bow | Hold to Aim Release Fire |
| Grenade Launcher | Tap to Aim and Fire |
| Rocket Launcher | Hold to Aim Release Fire |
| Fusion Rifle | Tap to Aim and Fire |
| Linear Fusion Rifle | Tap to Aim and Fire |
| Machine Gun | Tap to Aim and Fire |
| Crossbow | Tap to Aim and Fire |
Movement:
Now let’s talk about the movement of the game because in first-person shooters, the one who has the combo of aim + Movement will always beat the one who only has one of them. So here’s the best movement settings you should enable in your game.
| Setting | Recommended Value |
| Stop Aiming for Sprint | Off |
| Sprint Sensitivity | 100 |
| Left Stick Position | Free Movement |
| Fixed Left Stick | Off |
| Left Stick Auto Sprint | On |
That’s about it for the controls now; all that’s left is effects in the game.
Effects:
Now effects are one thing in Destiny Rising, which’ll allow you to actually clear up your visuals and reduce the game’s distraction as much as possible. Since these settings do not actually matter in terms of performance that’s why we are discussing them here on a different section.
| Setting | Recommended |
| FPP Field of View | 90 |
| TPP Field of View | 90 |
| Motion Blur | Off |
| Screenshake | Off |
| Notification Style | 2D |
| Mini-Map Mode | Rotating |
We are not going to dive into the sensitivity of the game because which sensitivity to choose is always a personal preference, and surely there’s no way that one sensitivity will bring results for all of the players. So, since it’s a personal preference, we are not gonna touch down on that.
Conclusion:
These are the optimal settings that you could use for the game. While on your mobile device, you might not see a performance difference, but you’ll definitely be able to grasp how better the game actually feels. That’s what these optimal and best settings do to your gameplay.
FAQ’s:
Is Destiny: Rising an FPS?
Destiny Rising Review – A Surprisingly Epic Mobile FPS
How to use BlueStacks for Destiny: Rising?
Download and install BlueStacks on your PC or Mac Complete Google sign-in to access the Play Store, or do it later Look for Destiny: Rising in the search bar at the top right corner Click to install Destiny: Rising from the search results
How to make Destiny: Rising full screen?
Press F11 to enter full-screen.