Nepal is a Control map in Overwatch 2 and is one of the 12 maps included in the game’s release on 24 May 2016. The map is available for the control mode and Arcade mode in Overwatch 2. In this guide, I’ll cover all the information you need about the Nepal map in Overwatch 2, health pack locations, the best team composition and strategy, and much more on the Nepal map.
Since I am working with the Overwatch 2 Boost squad here at Immortal Boost, I have to stay updated so that I can perform my job better when my client asks me to play any hero or just for high KDA they ask me to play tank heroes or support heroes only.
Nepal Map Overview
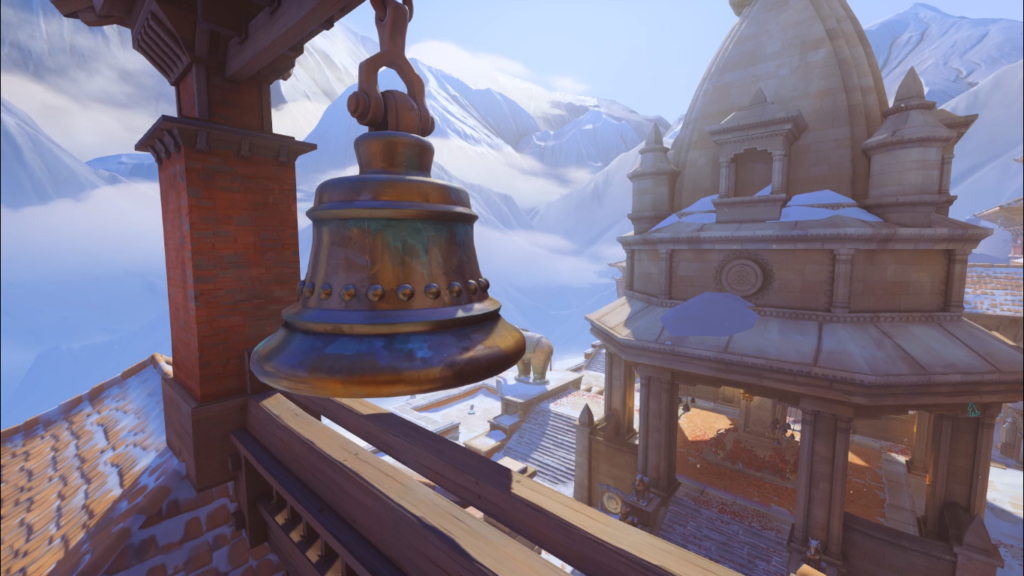
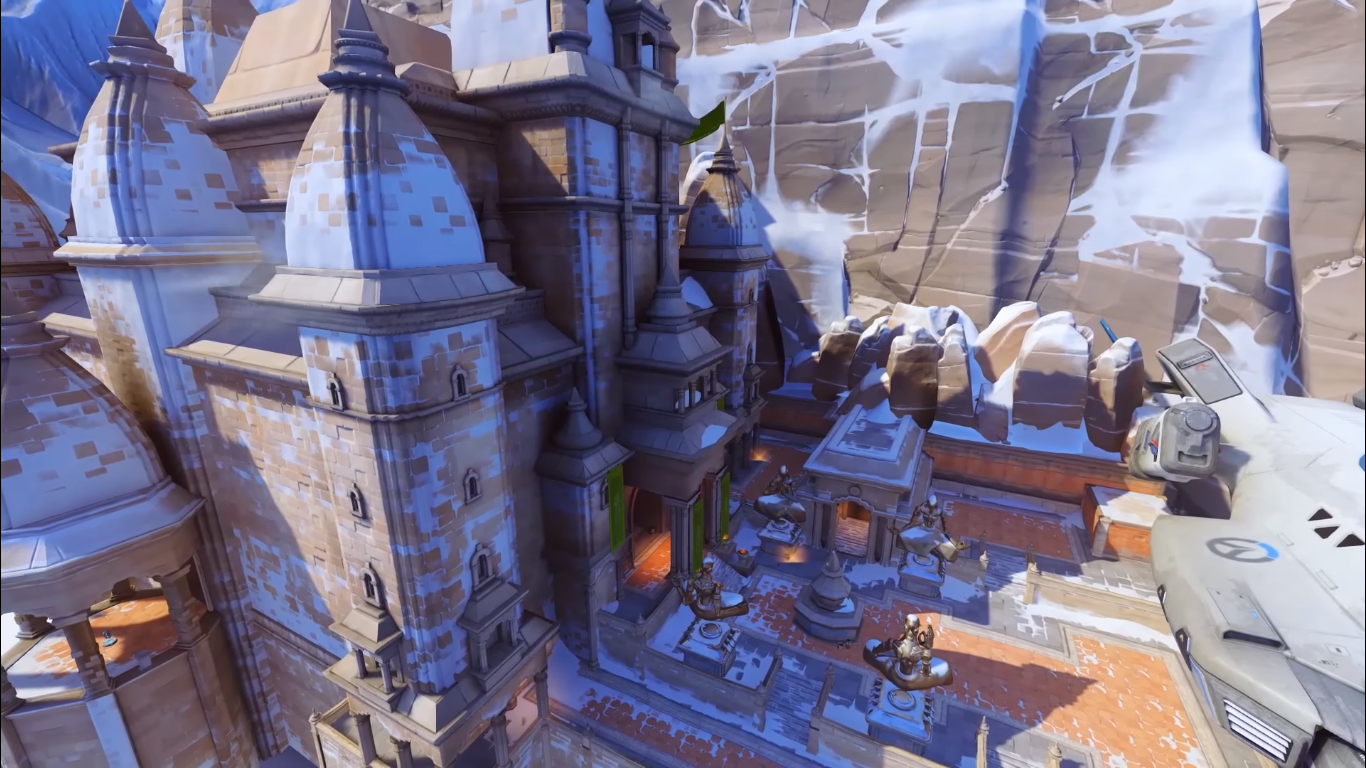
The Nepal map sends players to fight inside a snowy monastery, where they battle for control inside its Shrine, Village, and Sanctum. This map features many angles of attack for both attacking and defending teams, which makes this map a fantastic stage for high-intensity Control matches.
This snowy control map has plenty of close-quarter choke points and tight flank paths, resulting in fast-paced battles that require players to stay on their toes to capture each objective. To give players a chance to heal up, health packs can often be found in strategically safe places.
Nepal Health Pack Locations
Here are all the locations from where you can get the health pack on the Nepal map.
Village
- Team’s upper spawn point exit, right outside the westernmost.
- To the control point, in a corner to the right of the western gate.
- Across the western gate to the control point, behind the red wooden structure.
- Next to two red flags before the control point, on the fenced western cliffside.
- Southwest of the control point, on the ground floor of the red building.
- Directly across the control point, on the wooden cliffside platform.
- Southeast of the control point, on the ground floor of the blue building.
- Before the control point, on the fenced eastern cliffside.
- Across the eastern gate to the control point, behind the blue wooden structure.
- To the control point, in a corner to the right of the eastern gate.
- Right outside the easternmost team’s upper spawn point exit.
Sanctum
- To the right of the westernmost team’s spawn point, inside the structure.
- Directly past the sanctum’s westernmost entrance.
- Across from the control point, inside the cliffside gazebo.
- Inside the room overlooking the control point.
- In the sanctum’s easternmost entrance.
- To the left of the easternmost team’s spawn point, inside the structure.
Shrine
- In front of the westernmost team’s spawn point, on the ground floor of the building.
- To the control point, in a corner to the left of the western gate.
- To the control point, in a room to the right of the western gate.
- Southwest of the control point, on the ground floor of the building.
- Across from the control point, on the cliffside overhang.
- Southeast of the control point, on the ground floor of the building.
- To the control point, in a room to the right of the eastern gate.
- To the control point, in a corner to the left of the eastern gate.
- In front of the easternmost team’s spawn point, on the ground floor of the building.
Nepal Tips and Strategies
Here are some of the important tips and tricks that you need to know when playing on the Nepal map in Overwatch 2.
Take Advantage of Cramped Control Points
Nepal offers control points located in small and cramped locations that make them havens for close-range firefights. Use heroes like Junkrat, Zarya, and Reaper, who excel at fighting in tight spaces to use this to your advantage when pushing toward teams defending control points.
Be Wary of Flanking Routes
Nepal also features multiple flanking routes through its many narrow pathways and buildings. To take advantage of the terrain to strike from unexpected angles, be particularly mindful of flanking heroes like Genji, Reaper, and Sombra on this map.
Shove Foes into Sanctum’s Pitfall
Next to Sanctum’s control point is a large bottomless pit that acts as an environmental hazard that both attacking and defending teams should always be wary of. Shove careless foes into this pitfall for easy eliminations by using Heroes with pushing abilities, like Orisa, D.Va, and Lucio.
Objective A: The Shrine
This objective is great for a Junkrat once you have control of the objective, because no matter where the enemy is coming from, you can set up traps that are out of sight until they just step over the edge into the trap, and you will always have the high ground to lob bombs down on them. Any turrets or snipers set up will have a nice long range of sight for any approaching enemies as well, as most will come through the gateway.
If you are playing a flanker, it is possible to take some side paths to circle to the side or even behind the enemy team if they are set up and attempt to pick off any stragglers or their weaker back lines to make your team capitalize and push in.
Objective B: The Village
When first heading to this objective there is the obvious gate you can head through, but the enemy team will quickly turn this into a choke point where they will concentrate their fire if you let them take the objective first.
Get on the point quickly, and do it to them first. If you weren’t able to take the objective right off the get-go, then you can also circle and avoid that choke point by going through the buildings and approaching the objective from the side, rather than through the predictable entrance. This will also put you on some high ground overlooking one of the entrances to the point itself, so is a great place for turrets or snipers to set up in.
Objective C: The Sanctum
This map is great if you are playing a hero who can use a knockback skill, as the objective itself is located over a pit that falling into will be an instant death. Using this to your advantage, you can knock anyone who is trying to capture the objective or defend it right over the edge to clear the area.
Be aware of this as well and try to stay away from the edge or you might be the one to get knocked off yourself. There is a pretty going ledge just high above the objective, as well as having to see the edge of the objective, on the other side from that edge, where turrets, snipers, and all other sorts of dangerous things can be set up to block people from standing on the objective itself.
Best Nepal Team
| Best Tank | Winston |
| Best DPS | Genji, Sojourn |
| Best Supports | Ana, Lucio |
Team Explanation
This unique team works well on all three points in Nepal, taking advantage of the map’s ample flanking routes, unique terrain, and tight choke points.
Alternative Tanks
D.Va: D.Va is also a must-pick alternative Tank in Nepal. She quickly bursts down foes in the map’s narrow corridors with Micro Missiles and Fusion Cannons and also protects her team from projectiles with Defense Matrix. Her Boosters also shine in Sanctum, letting her easily shove foes into the control point’s pitfall. When positioned properly along Nepal’s control points and choke points, her Self-Destruct can also be a devastating ultimate
Orisa: Orisa is another well-rounded alternative Tank for Nepal. Javelin Spin and Fortify let Orisa efficiently block deadly projectiles and soak heavy damage, making her incredibly tough to take down. She also has strong disruptive tools in Terra Surge and Energy Javelin, each of which is pretty useful when used in fights along the map’s cramped control points and narrow streets.
Reinhardt: Reinhardt offers excellent cover along Nepal’s sightlines and narrow corridors with Barrier Field and provides massive damage up close with Rocket Hammer. To let Reinhardt have an easier time landing multi-hit Fire Strikes and deadly Charges, the map’s terrain must be used properly. Earthshatter can disrupt entire enemy teams and set them up for other abilities when you are fighting around the control point.
Alternative Supports
Baptiste: Baptiste offers potent area-based healing in Nepal’s cramped terrain with Regenerative Burst and Biotic Launcher while fortifying his team’s positioning with Amplification Matrix and Immortality Field. He can also access the map’s high ground with Exo Boost, providing him with better angles for healing allies and shooting foes.
Moira: Nepal’s narrow pathways and cramped areas let Moira efficiently use her Biotic Grasp and Biotic Orb, providing excellent healing and damage output for her team. For crossing the map’s short gaps and escaping behind natural cover, her Fade is also a potent mobility tool that can used. When fighting around control points and choke points, Moira’s Coalescence also provides potent healing and damage.
Kiriko: Kiriko is an excellent alternative Support in Nepal. She can quickly move through the map’s cramped terrain with Swift Step to escape from danger and reach teammates in need. Her Protection Suzu is also incredibly potent when used in the map’s choke points and control points, especially against enemy Ana players. With its numerous buffs, Kitsune Rush also excels at defending and attacking control points.
Alternative Damage
Junkrat: Junkrat can apply constant pressure toward Nepal’s choke and cramped control points and easily wipe out grouped-up foes with Rip-Tire with his Frag Launcher. He can also reach the map’s vantage points and deal heavy burst damage with Concussion Mine while covering flanks and disrupting team fights with Steel Trap.
Mei: Nepal’s unique terrain pairs well with all of Mei’s skills, making her a great alternative Damage Hero. The map’s flanking routes, ample cover, and cramped areas make up for her low mobility and let her maximize her Blizzard and Endothermic Blaster. Her ice wall is also effective in Nepal, capable of blocking entire pathways and isolating foes.
Wrapping It Up:
There we have it! We are at the end of this blog, and we have talked quite a bit about Nepal. While this guide won’t make you a pro, it has all of the information that you would need to do so if you need help while playing this map, you can choose our Overwatch 2 boosting or Overwatch 2 Coaching services.