No matter what your role is, the way you approach playing your agent changes from map to map. Each map has its own play style that’s unique and as important as it is to play your own brand of valorant. We going deep dive into the Valorant Ascent Map to understand how this map plays as well as how the best players in the world approach it. From Ascent map specifics to team comps to setups, we will discuss all.
Ascent was the first Official map of the Valorant. In Valorant, Ascent is one of the ten playable maps. Let’s discuss some general information on the Ascent map along with map philosophy then move to metapix the pros use and then cover their setups as well as approaches to attacking each site and defending each site. Check the Valorant Sunset Map guide and Valorant Lotus Map guide to master these two difficult Maps in Valorant.
Valorant Ascent Minimap Layout Overview
Ascent is Valorant is a three-lane map. with B main on the left and A main on the right, the attacker side spawn is connected. There’s a lack of chokepoints and corners in the entry in Valorant Ascent Map.
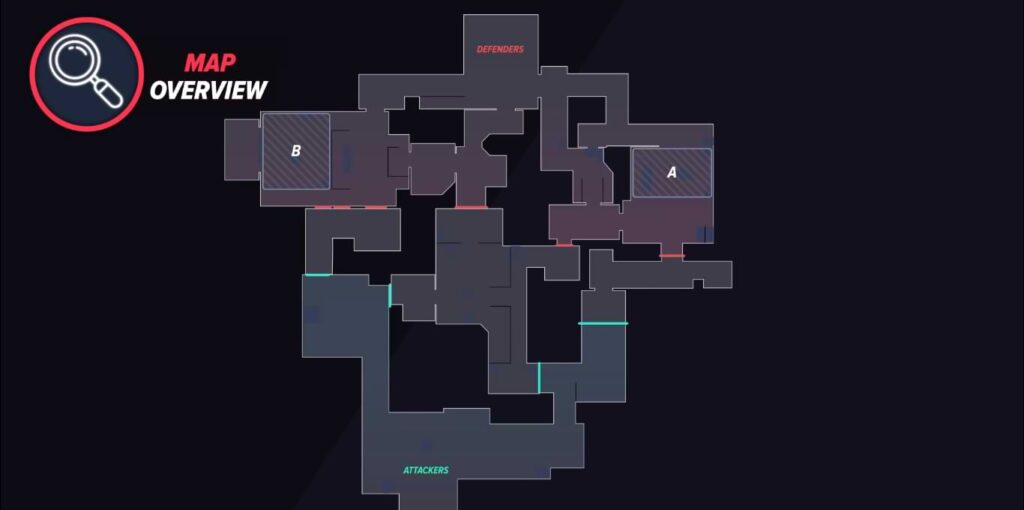
The mid connects the mid courtyard for the defenders to spawn. For the attackers to reach the Courtyard or catwalk, they need to rotate around mid-top. The cat takes to the Tree which is already connected to A Garden and along with A site, the defenders will spawn quickly.
To move into the mid-bottom, choose the other path then the courtyard will lead you over there, and on the left and right corners are pizza and market. The market takes to the B site and it is connected to defender spawn, on the right side.
Valorant Ascent Map Overview
Before jumping into agent pick, it’s important to understand the map’s layout as a whole. Ascent is a map with a mix of long-range angles and close-quarters duels, so weapons ranging from OP to the judge are all viable. The map has two doors, one located in the market connecting to B site and the other in the garden, connecting to A Site. These doors are exclusively controlled by the defending side at the start of the round and allow the defending team to drastically change the strategy.
The map is structured to be a more defender-sided map which is why the old Orbs are oriented more, so on the attacker’s side of the map. The defenders don’t have to take the orbs but it’s also not easy at all considering how deep of control you need to do so safely.
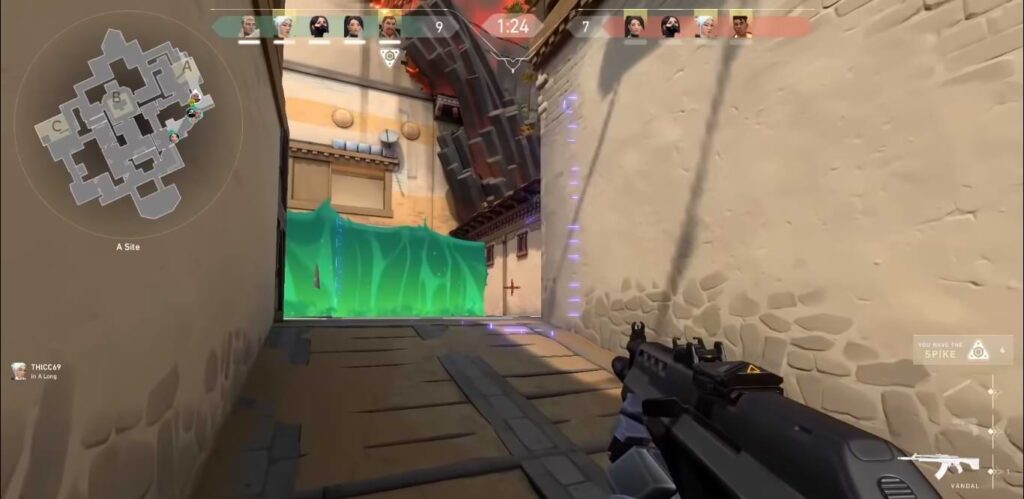
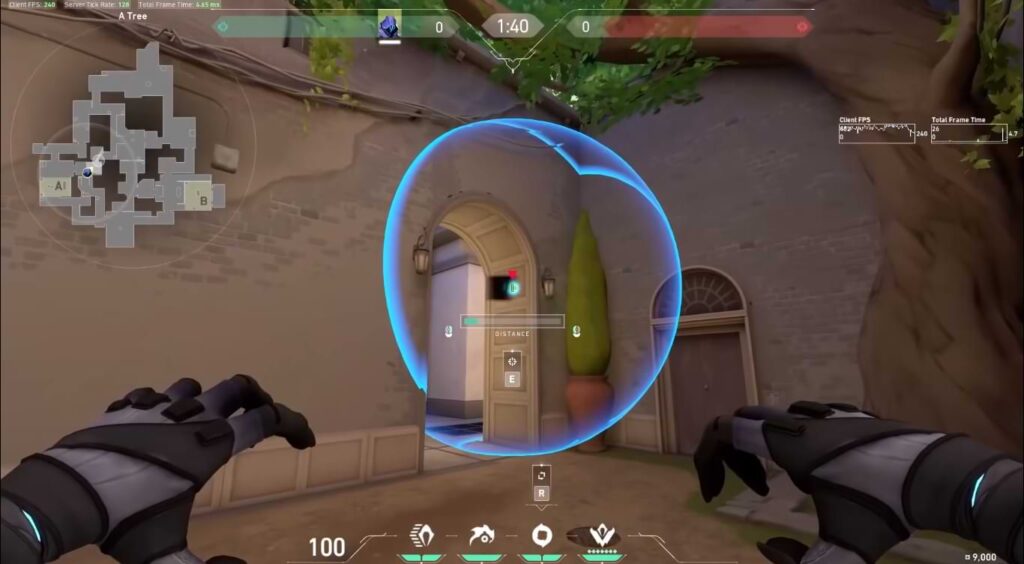
One of the most important aspects of the Ascent map is mid. Ascent is one of the only maps with a true mid and taking control of mid allows the attacking team to open an extra avenue onto the A site or B bomb site. Typically, this is strong because it splits the Defenses up. If a team tries to rush off a main entrance while the enemy is set up, it’s really hard to break through and the sheer amount of utility makes it very difficult to win.
That’s why taking mid-control gives multiple entrances that force the defenders to change their setup or spread-out utility, making the main entrance weaker. This leads us to the topic of the doors which are a map-specific gimmick that plays into this meta-game around mid
Valorant Ascent Map (A Site Doors)
The state of the A Site door can dramatically change how round can or will be played and can even in some cases decide the outcome of the round. If the A Site door is left untouched at the start of the round, then it can be used for attacking teams to make their team site take, more successful. This is because rather than a smoke, the door acts more as a Sage wall.
There is no possibility of timing the attackers on defense and it’s important to flash out the door like you would a smoke. This is why as a defender, you most of the time want to break the a-door, so it forces the enemy team to continue to use smokes to keep the angle into the garden blocked off. But at the same time, it’s really important to realize that doing so also makes the possibility of a split through a cat crater and therefore puts your team at risk when managed poorly.
Ascent Map B Site Door
The B door is also super important to understand while trying to defend the B Site. If the door stays open, this allows a player to play from the market. Applying pressure mid and allows them to help on the B site hold. However, if the attackers make it into the Boathouse, then they can close the door splitting the site’s defense into two.
Before you think about pre-emptively breaking the door, consider that if the door is broken, it also makes the site much more susceptible to a mid-to-B split. As such it’s important to figure out how your defensive setup will look before figuring out what to do with the doors.
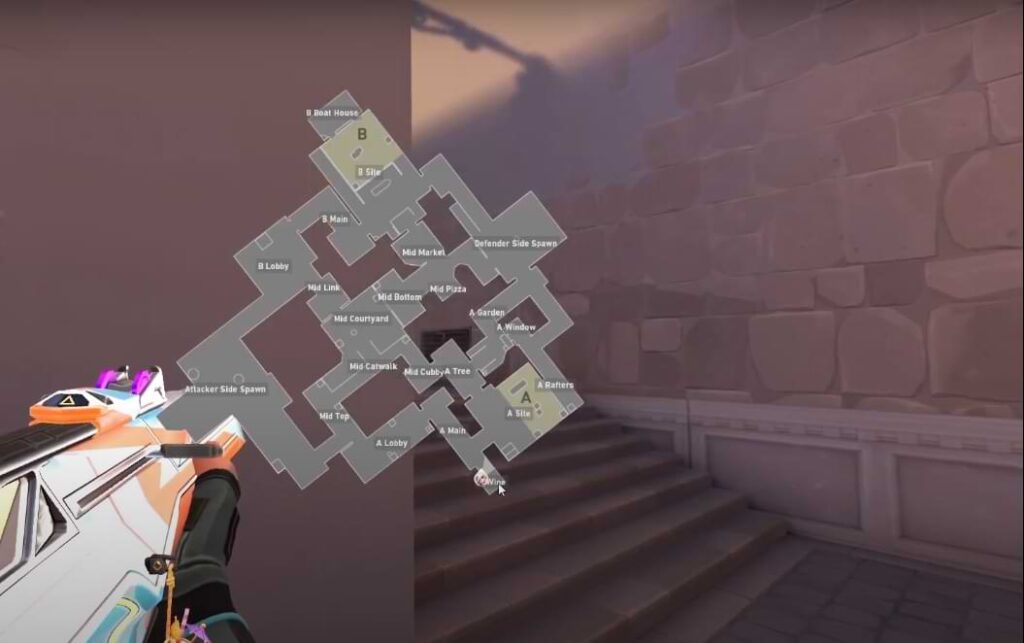
Valorant Ascent Map: Callouts
Ascent A Site Callouts
The Ascent map is divided into parts, first, we’ll enlist the A Site.
⦁ A Peek
⦁ A Main
⦁ Wine
⦁ Tree
⦁ Generator
⦁A switch
⦁ Heaven
⦁ Pillar
⦁ Double box
⦁ Hell
⦁ Heaven Pillar
NOTE: These all are the most common and useful callouts in the Ascent map on Valorant
Ascent Mid-Site Callouts
The structures in the Valorant’s Ascent map are pretty basic. There are no actionable corners in the Ascent Map. Let’s jump into the attacker’s side of the Mid and callouts are the following.
⦁ Mid Top
⦁ Subroza
⦁ Catwalk
⦁ Mid-Cubby
⦁ Screens
⦁ Courtyard
The defender side of the Mid is limited for the gameplay in Ascent Map. These callouts are the following.
⦁ CT Spawn Wall
⦁ Pizza
⦁ Market
Ascent B Site Callouts
In the Ascent map, the callouts are divided into two sections. The B entry site is the first section of B site Callouts and is the following.
⦁ Workshop
⦁ B Switch
⦁ Platform
⦁ Market Doors
⦁ Wood
⦁ Log Cubby
⦁ Market Stairs
⦁ CT
The other part of B Site Callouts is the plant area in Ascent.
⦁ Camp Pillar
⦁ Big Boxes
⦁ Stairs
⦁ Alley
⦁ Default
⦁ Triple Box
⦁ Spam Box
⦁ Boathouse
Valorant Ascent Map Comp
It’s pretty apparent that a meta is more or less established for Ascent Map. The team comp would consist of the following agents.
⦁ Jett
⦁ Sova
⦁ Killjoy
⦁ Kay/O
⦁ Omen
⦁ Brimstone
Let’s talk about each agent specifically.
Jett on Ascent
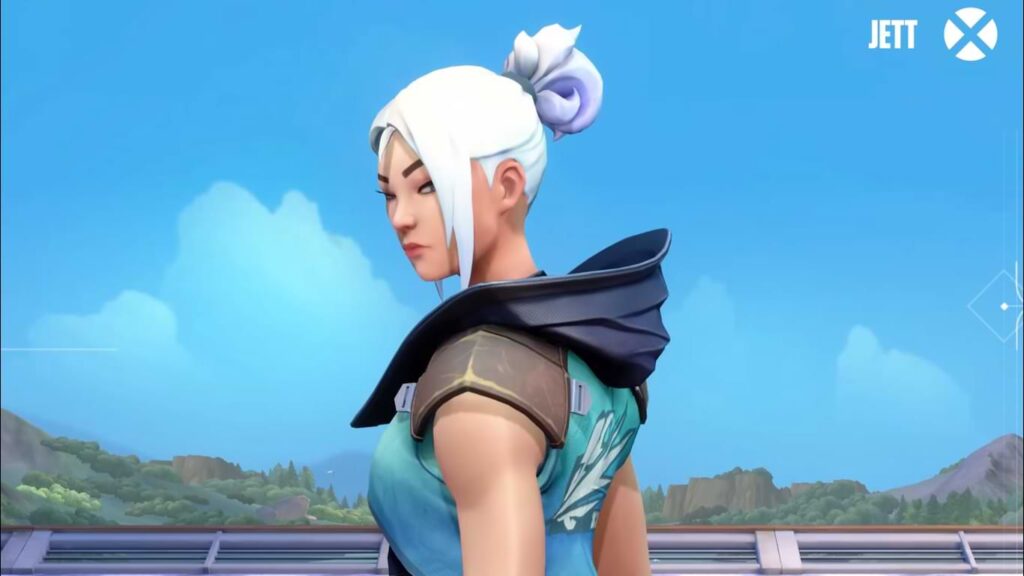
No other duelist comes to beating Jett as a main duelist on Valorant’s Ascent Map. Her flash and smokes allow her to contest neutral zones of the map safer than any other duelist in the game. Unlike Other duelists, Jett’s dash is instant and does not require a kill to get her to safety. Jett is perfect for fast executes on Site as well as getting out of A and B Main tends to be more difficult for attackers. However, the biggest advantage Jett brings to a team is the ability to opt.
Mid on Ascent is hard for the defenders to play forward in, so taking advantage of the longer range with Jett’s opting ability is a must, and paired with her dash she can escape from positions that normally would be death traps.
Killjoy on Ascent
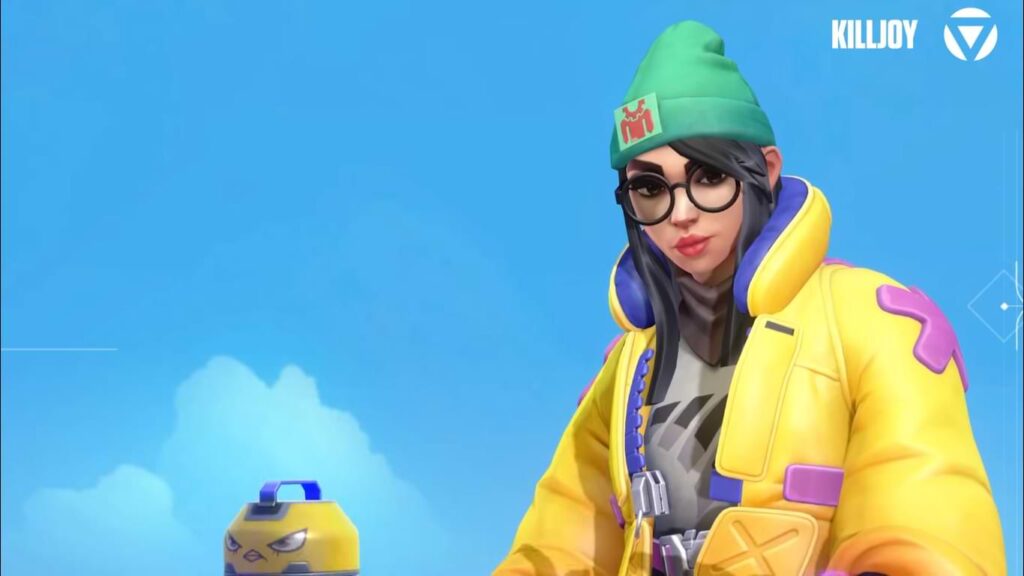
The go-to sentinel on the Ascent is Killjoy. Killjoy’s kit is perfect for locking down the hard-to-take chokes of A and B Main on defense. Her Nades shred any attackers pushing under the site and have the ability to split the execution slowing down the take and making it impossible for the other team to get all members on Site.
Her Turret is amazing for both the offense and defense. Since it gathers deep information on areas of the map that are much harder to keep tabs on with other sentinel utilities. so, keeping in a position like the hut outside of B to watch Mid and B Main is optimal.
On defense, the turret can be used to peek off of or trade or can be the cue for other abilities to be used like short darts and to B main but of course the biggest advantage Killjoy brings to a team is her ultimate. Whether it’s defense or attack it has the ability to clear entire sites on its own.
Initiators
Sova
On the initiator side, Sova and Kay/O are the undisputed mate picks for the Ascent Valorant Map. Sova is by far the best information-gathering character in the game currently. His drone and dart can easily clear out most if not either, sites for his team. Especially considering how open each bomb site is.
Kay/O
Kay/O serves a different role as an initiator which is to put an end to the overwhelming amount of Util stopping your team from taking the site. Kay/O also provides a powerful molly to stop defenders in their tracks or to push enemies out of hard-to-clear areas like the back Site and spots like the generator. The way to master these agents on Ascent is timing, you need to use utility together with your team.
Sova and Kay/O together is a strong combination that takes site takes hard to counter while also functioning as a solid set of eyes for drawn-out defender rounds.
Controller
Rounding up the last spot on the roster is a controller Pick. Both Omen and Brimstone have pros and cons When it comes to filling the position. So, it’s important to look at their uses separately and make your own decision from there.
Brimstone
Brimstone has fantastic utility for both offense and defense. First off, his stim beacon is perfect is perfect for accelerating your team for fast site executes. Combined with Brim’s ability to drop multiple smokes at the same time, he can drastically up the tempo for your team without giving much information away.
Brimstone’s molly has multiple case uses for both attacking and defense. On the attacking side, you can use Molly to block key angles the defenders could use to catch your team off guard or you could use Brimstone’s mollies to stall post plans through lineups and his ultimate.
On defense, his molly stops rushes in their track and helps split the attackers giving your team to either support you or to make a play to target one side.
Omen
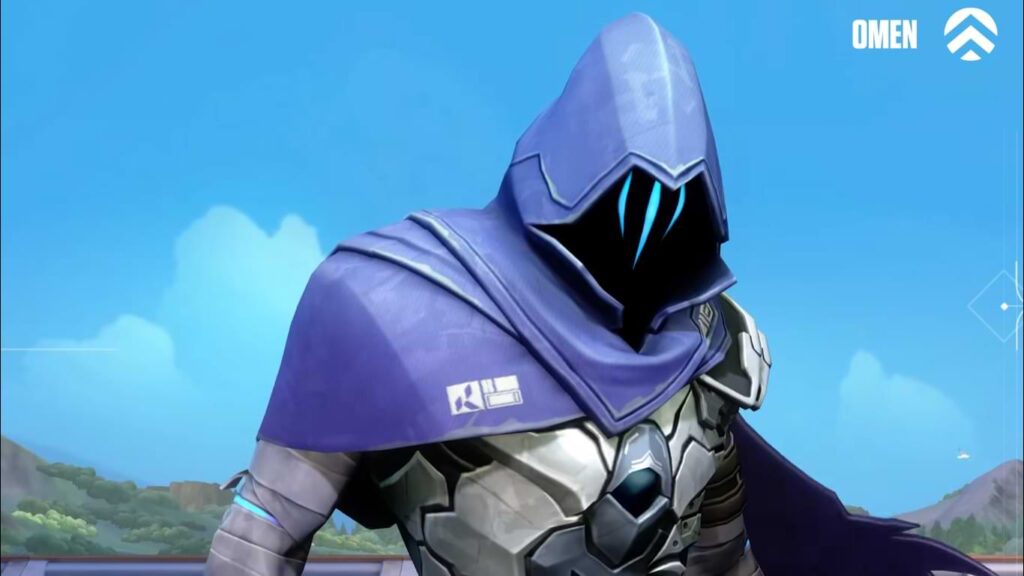
Omen is the other controller of choice. The biggest advantage Omen provides over Brimstone is his rechargeable smokes and range of placing them. His smokes allow his team to play much slower safer. Taking mid-control in Ascent is much less taxing with Omen than it would be with Brimstone. Also, Omen smokes allow your team to safely farm the old orbs on the attack while using a brim smoke would kind of be considered a waste.
Shadowstep is also a great ability ascent because it enables Omen to play off angles to catch enemies off guard and can be amazing for navigating mid safely whether it’s on defense or offense. Additionally, Omen’s paranoia is amazing for site takes, retakes and to stop pushes in their attacks as well. You just need to make sure the timing on the flash is perfect to get maximum value.
Unfortunately, Omen Ult can feel a lack of luster in most regards. However, it still functions as insurance if A take doesn’t succeed and a swift reposition to the other bomb site is needed. In terms of temp, Brimstone is the faster-paced agent who can play an explosive playstyle but risks getting shut down just as quickly. Meanwhile, Omen is a slower more methodical choice that has more insurance and has generally more influence throughout the round but lacks tools to push the agenda.
Best Ascent Map Tactics and Strategies
Defenders
Now you know the meta comp, the pros are fielding on Ascent. It’s important to note how they play it and for this, we’ll start with the defender side. Most teams run in a 2-1-2 setup meaning they play two agents on B mainly Killjoy and Sova. Jett holds down mid from CT and Kay/O and Brimstone lock down the A site.

On the B Site, you’ll see Killjoy set up with her mollies on the lane and her turret holding in B Main while her alarm bot goes to mid. If the turret is holding B Main, this acts as a cue for Sova to scan a drone or shock Darden be B Main off of its contact.
Killjoy sets her Alarm bot mid so the mid-player can cheat towards A or B, depending on her team’s information without leaving a gap in the Defenses. At the same time, B is usually the favorable position for Sova, simply because of how well he can play around his darts and drone.
You’ll see a lot of Sova’s pick up the guardian or the Odin to take advantage of the paper-thin walls in the Boathouse and B Main. Over on the B Site, you have a brim around the tree because it allows him to smoke off all relevant areas of the map such as A Main, Mid Tiles, or Top Mid and also B Main. Meanwhile, Kay/O can knife Omen for early info and also has amazing flash potential for the garden and A-Main.
Your goal is to make breaking through Cat or Amine as annoying as possible and that’s done through solid stall utility as well as a mix-up of aggression with Kay/O aggressive potential through flashes and suppression.
Attackers Side
Attacking Post Plant
On the attacker’s side, attacking with this comp can be played in a variety of different ways. Brimstone enables explosive executes onto sites with your team’s insane information and suppression utility. Killjoy gives fantastic protection to your flanks and acts as an early warning system for aggressive enemy movements.
Kay/O Flashes and Sova darts can be used to take control early mid-control if your team is trying to push back the enemy. Jett is the perfect centerpiece that can make space on site with a click of a button and can contest the long angles of mid without the fear of being in a bad position.
Pressuring Mid
Mid-control must be a heavily important part of splitting up the defenders. To do so, it’s easier for attackers to establish control with two simple smokes.
⦁ One smoke is placed on the cat
⦁ The other could be placed between the market and the pizza
This will allow your team to sow the dart or Kay/O knife bench in order to locate any enemies that might contest you. Smokes prevent help from long angles that have easier escape paths. Once Mid control is established, your team could use the new routes created into Market or Cat to help pinch the defenders on site and it also forces the defenders to split up into sight and give up their center.
Defending mid is mainly only doable for Jett and Omen since they can use movement abilities to escape from bad fights.
Attacking A Site
When attacking A Site, there are a few key steps that need to be taken to give your team the best chance of success. You want to make sure the door and CT are smoked when you execute. Next, you’ll want to make sure your Sova is using information utility to spot enemies out as your team goes in.
Kay/O knife could be used mid-site while Sova drones the Site and darts anyone trying to peek. Kay/O can support with flashes and Jett can then use her smoke dash combo going to gen or dice to create space for the rest of your team.
One player should always be trying to path towards the switch to stall retakes and also prevent the enemies from funneling in, as Your teammates are fighting. A Molly Heaven is also preferred by an agent like Killjoy, to prevent enemies from pushing through and taking a quick peek.
Here are some key steps to successfully perform the attack.
⦁ Smoke off Heaven and Door
⦁ Sova drones/recons into the site
⦁ Kay/O knifes Mid site/ Generator
⦁ Jett entries with the utility
Post Plant A Site
A site is considered harder for the defenders to retake due to more angles and safer positions to play from. That’s why you want to keep your team spread out and able to trade and play the bomb. While playing Post plant, try not to stack too many players in hell. The hell position is super susceptible to being spammed by all types of guns and it’s impossible to trade your teammates playing from A Main.
Running the Brimstone, Sova, kay/O and Killjoy comp allows you to keep heavy pressure on the bomb through mollies darts and flashes. So, A Main is a very strong position to keep control of. With all the utility you have at your disposal, it’s not rare to see teams approach post plants on A through stall utility alone.
Attacking B Site
While trying to execute into the B Site, you want to make sure CT and market are smoked off to limit the angles your team needs to fight. Killjoy is the most popular agent played on B site and many Killjoys like to double molly lane so the attackers are forced out into the open while taking damage from spam. That’s why one tip you can use is to have Sova bounce shock darts off the top of the windows to try and destroy Util placed on the lane. Or you can try to knife Killjoy to disable the setup.
Sova wants a dart back Site to reveal all the sites before he drones for the team. Once the information is gained, it’s a pretty common play for Jett to smoke dash onto the switch to close the market door. This makes it so enemies can’t walk out of smoke and time your team without first mag dumping to break it.
FAQs
Ascent Map was released on January 2nd, 2020.
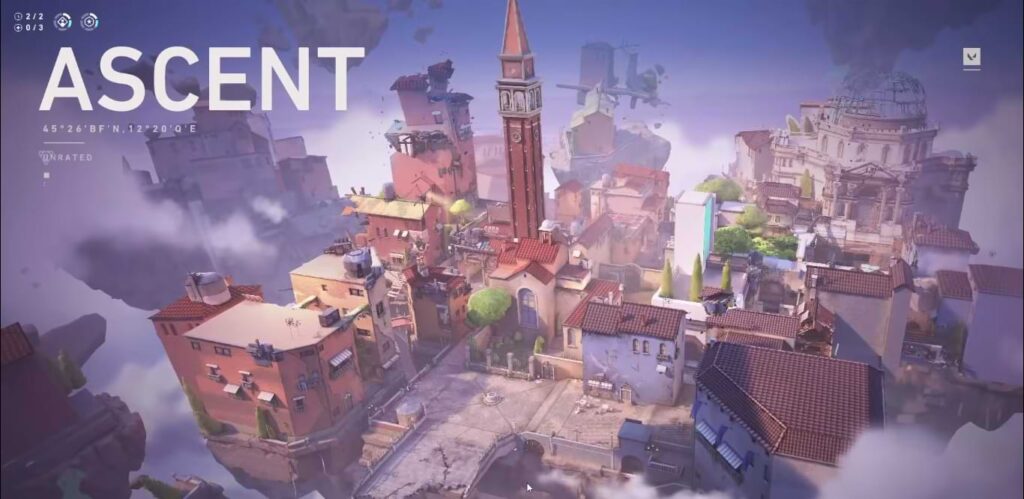
Ascent is located in a city in Italy called Venice.
Ascent is a Defender-Sided map in Valorant.