One of the most common issues that everyone faces in Rocket League is voice chat issues. But nothing to worry about anymore because we got you covered – Just follow these steps to fix this issue.
Before following these steps, make sure that you have changed your voice chat settings from Default. Because at default it indicates that you are under 18 so voice will not work.
Voice chat fix for PC users
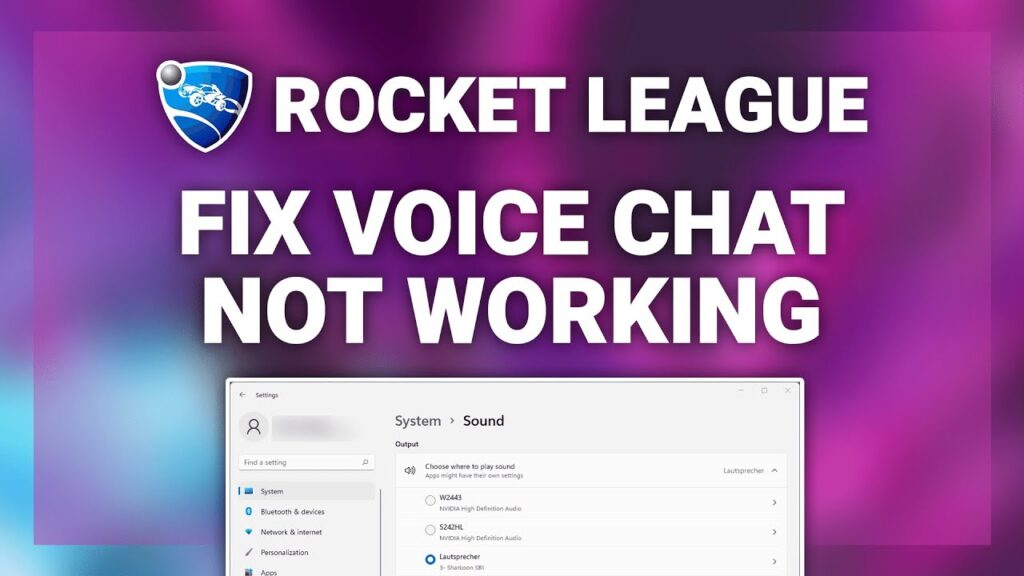
The default options should work for input and output devices as long as your Windows settings are set to the sound device you are using.
If you are having issues with voice chat not working, you can change your input or output devices to the sound device you are using.
To change your default devices:
- Click Start.
- Type Control Panel and press Enter.
- Click Sound.
- On the Playback tab click the output device (Speakers/Headphones) you want to use as your default, and then right-click it and select Set as Default Device.
- Click the Recording tab, then click the input device (microphone) you want to use as your default, and then right-click it and select Set as Default Device.
- Click Apply, and then click OK.
Other common issues of voice chat in Windows
There are several reasons why your Rocket League voice chat may not be functioning properly in a Windows PC, including:
- Network connectivity issues.
- Incorrect microphone and headphone connections.
- Improper audio settings and configurations.
- Voice chat functionality being disabled.
- Outdated Windows version.
- Incorrect selection of input and output devices.
Voice chat fix for PS 4 & PS 5 Users
You can adjust your DNS settings which may fix voice chat issues.
- Go to Settings > Network > Setup internet connection.
- Choose your connection type.
Note: Options are WiFi or LAN. (we recommend LAN, connecting with an Ethernet cable) - Choose Custom setup.
- Choose Automatic IP address settings.
- Do not specify a DHCP Hostname.
- For DNS Settings select Manual.
- Enter the following Primary and Secondary DNS:
Primary DNS: 8.8.8.8
Secondary DNS: 8.8.4.4 - Choose Test Internet Connection to make sure you’re still connected to the internet.
- Retry voice chat.
Voice chat fix for XBOX users
Adjust DNS settings
You can adjust your DNS settings which may fix voice chat issues.
- Press the Xbox button on your controller
- Go to System tab > Settings > Network > Select Network Settings > Advanced Settings.
- Save the existing DNS servers on this screen by writing them down. If these changes don’t work, you can change them back to the original DNS settings.
- Select DNS settings, and then select Manual.
- Enter the following new DNS servers:
Primary DNS: 8.8.8.8
Secondary DNS: 8.8.4.4
Note: You’ll need to enter both Primary and Secondary DNS settings. - If you’re asked to set MTU, enter 1473.
- Retry voice chat.
Set your privacy and online safety settings for cross-platform play.
Make sure your privacy and online safety settings are set up for cross-platform play.
- On Xbox, press the Xbox button to open the guide, and then go to System > Settings > Account.
- Select Privacy & online safety > Xbox Live privacy> View details and customize > Communication & multiplayer.
Note: If you’re setting up voice chat for a family member, from Account, select Family settings > Manage family members. Choose a family member, and then follow Step 2 above. - Choose settings for the following options:
- You can play with people outside of Xbox Live.
This allows or prohibits all cross-network play. Click Allow to use voice chat. - You can communicate outside of Xbox Live with voice & text.
When you allow cross-network play, you control who can communicate with you. Choose Everybody, Block, or In-game friends.
- You can play with people outside of Xbox Live.
- Retry voice chat.
Clear Xbox cache
- Press and hold the power button on the front of the Xbox until it turns off completely.
- Pull the power cable out the back of the Xbox. Press and hold the power button on the Xbox several times to expel any remaining power and clear the cache. Leave unplugged for at least 30 seconds.
- Plug the power cable back in.
- Turn the Xbox back on as you would normally.
- Retry voice chat.
Enable UPnP on your router
NAT issues can also prevent voice chat from working properly. Run this test to make sure that your NAT type is Open.
- Open the Settings app on your Xbox.
- Select the Network tab.
- Select the Test NAT type tile.
- If the test results show Open, you do not have NAT issues.
If the rest results do not show Open, continue to the steps below to troubleshoot NAT issues
- Navigate to your router login page.
Note: For more details on logging in to your router, search online for guides related to your specific model - Log in to your router page.
- Navigate to the UPnP menu on your router.
Note: The steps to find this menu vary between routers, so search for specifics on your router. If UPnP isn’t available, we recommend port forwarding. - Enable UPnP.
- Save your changes.
- Open the Settings app on your Xbox.
- Select the Network tab.
- Select the Test NAT type tile. You should now have Open NAT on your Xbox.
- Retry voice chat.
Hope following these steps will fix your voice issue in Rocket League, but still, if the problem remains the same, make sure you contact the support team.
If you need any help regarding Rocket League whether it’s RL Boost, RL tournament Boost, or RL rank Boost, you can reach immortalboost and we will help you!