Let’s discuss everything you need to know about VALORANT’s brand new map after its thrilling VCT: Masters Shanghai reveal.
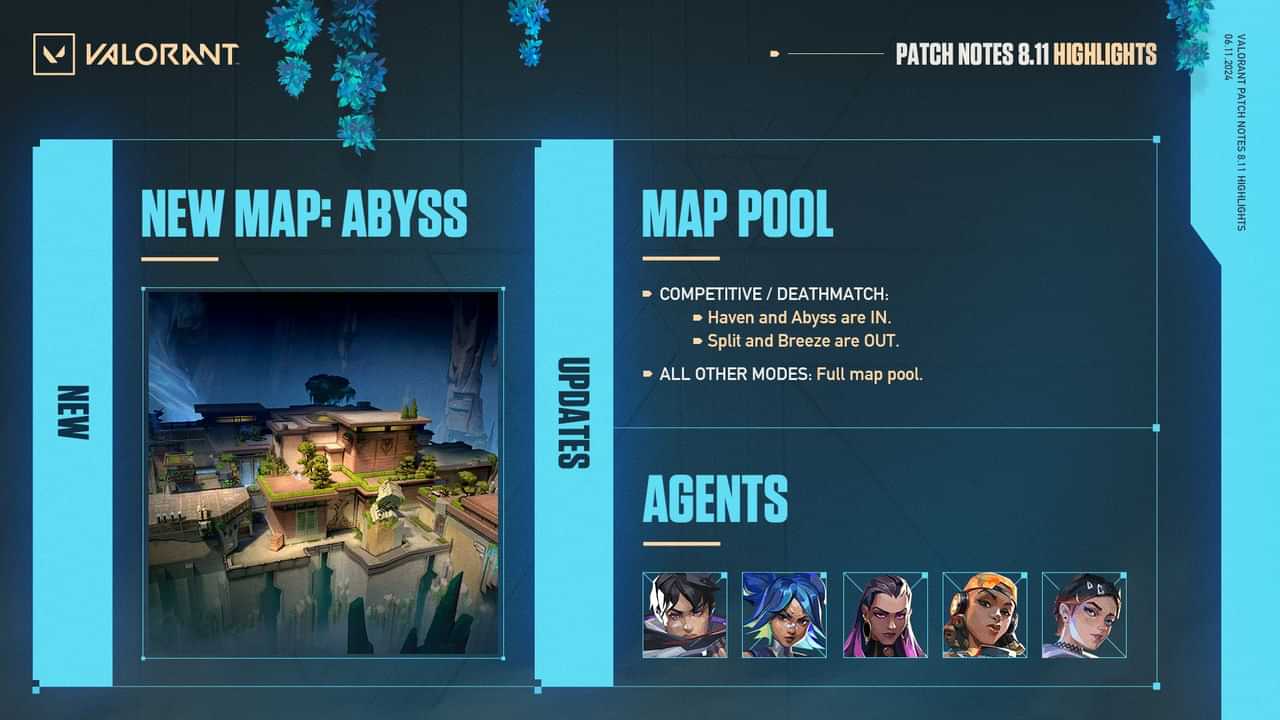
The Abyss map is the classic three-lane layout map that brings the no-boundary style for the first time in the Valorant. While playing Abyss in Valorant, learning important callouts like the bridge, danger, and library can help dominate the new map in Valorant. When it comes to different and fresh content with every act, the Valorant has already become a constant. The Abyss Valorant map was released on June 11, 2024, with the patch 8.11. You will need to know it inside out to dominate any map.
Source: https://playvalorant.com/en-us/news/game-updates/valorant-patch-notes-811/
Valorant Abyss Minimap Layout Overview
Abyss is a simple three-lane map in Valorant when it comes to the layout. The attacker spawn connects A lobby to A main that extends to A site to the defender spawn in Abyss Map. Behind the A site that floats in the air, the Defender side spawn has the secret location.
The crucial part of the Abyss map is the mid-portion, which is huge, and when you take control of this area, you can easily get free kills. It is separated into two lanes by a huge void in the middle. Mid catwalk leads to the breakable vent that takes to A tower, which extends to A site while Mid bottom connects the area to the B main.
To hold for lurks and mid-rush, the Mid library connects the mid area to the B site from the back area, which can be a crucial chokepoint. This link area also connects it to the B tower and defender spawn. Attackers can take the off route of B danger that floats on the backside of Abyss B site, and B main also has one entry through the main.
The Abyss Valorant map seems simple, but its design can confuse many new players in the initial stages. Before jumping into a standard game, you need to read all the areas properly. Remembering Abyss is more important than all other Valorant maps because you can fall off the map at any time.
Check out this video if you are less of a reading person!
Valorant Abyss Map: Callouts
Callouts are an important aspect of Valorant regardless of any map. Let’s have a quick look at the important and common callouts in the Abyss map in Valorant.
Abyss A Site Callouts
A site on Abyss is not complex as there is only one initial entry through the main. Here are all the callouts for A Site.
· A Tower
· A Back Site
· A Bridge
· Ascender
Abyss B Site Callouts
B is also small and simple and is similar to A site. Due to the Spammable walls and the B danger, this site can be a little trickier to execute. Here are the callouts for the Valorant Abyss B site that you must know while playing on Abyss Map.
· B Tower
· B Main
· B Link
· B Under
· B Danger
Abyss Mid Callouts
Mid is the important part of the Abyss map and a lot of fights and taking control of the map will happen in this area of the map. The area is built in a tunnel vision so the callouts are pretty open.
· Mid Library
· A Vents
· Mid Catwalk
Abyss, based on Valorant lore, is based in Norway, Alpha Earth. Abyss Valorant map seems like a simple three-lane map, it is gimmick-heavy. This map has the famous mini-breakable doors from Lotus and the ziplines and the map features the no-boundary setup like the Counter-Strike Vertigo.
The walls of the maps are also paper-thin along with the known gimmicks. This makes almost every wall on the map wall-bangable in Valorant. The sites in the Abyss map have single entry through A main and B main and the mid connects the site through multiple entries.
A Site
Starting in attacker spawn, we have the A site on the right-hand side here and A Mains offers space for some pretty explosive fights right off the barriers. You then get to the choke point which is not the easiest to get through since you have quite some angles to check with close right, close left, backside, top side, and heaven. With some good utility, you can get through and you have the outside pathway from where you can enter with a Jett or Raze to scale to side quickly.
There is a big structure in the middle that you can jump upon as well which is the main cover to fight around on site. Behind that you get into security and here you have another cool Outside of the map play that you can pull off on retakes. You also have the secret spot where every agent can go around the outside and then peek into Defender spawn or catch a good timing on someone rotating in.
As a defender from spawn, you can either go through the security towards the backside to enter A or you can play from Heaven.
Mid Area
If you go straight ahead from attacker spawn, you’ll enter the middle part of the map. In general, you have two lanes, One up top and one a bit lower, with a gap in between. You can also have some early long-range gunfights here. You have a lot of ways from mid to either bombsite but they all seem pretty long and complicated. The most direct one is to go through vents towards A but the enemy team will know about it because of the two breakable doors and you can enter heaven through a very narrow choke point.
You can go all the way through mid and push A Link, from where you can go Spawn, Backside, or heaven. But this takes so long that it is more of a lurk play than trying to do a fast A Split. Towards B Side, it’s kind of the same as taking the first pathway left doesn’t do anything in terms of splitting since you end up in B Main.
Pushing back through B Link could once again be a good play to try and flank but a split will take very long. As a defender, you can enter mid through A Link or B Link and then play these angles at the back or you can try pushing toward the library which is pretty risky though because you’re exposed and there’s no easy way back. You can also try playing around the rope and creeping up silently or hiding on the Rope but those seem like pretty Niche plays.
B Site
Finally moving left from the attacker spawn, we have the B Site and here you can either move towards the ramp directly or you can try to fight from the window first. To enter the Site, you have the big ramp and then once again an outside pathway through danger that gives you good cover but leaves you vulnerable to someone peeking from the back side.
There are a lot of different angles to play for Defender on B Site so it will be pretty tough to enter here but we’ll see how it plays out. As a Defender, you can come through Link and play around the medium box in different angles here or you can enter from heaven and play those far angles. The backside also seems to be a pretty strong position since you have a lot of covers and you counter anyone trying to enter through the danger.
What is special about VALORANT’s new map Abyss?
The Abyss Valorant map is set in a remote area near Iceland. This map offers blocky brown architecture with plentiful greenery. The map has two sites connected by two narrow mid-map corridors and also provides ample long-range angles. Abyss is the first VALORANT map with no boundaries making it the difficult map in Valorant. Players can fall off the map at a moment’s notice — so don’t be surprised if you end up having flashbacks to Counter-Strike’s infamous Vertigo or similarly tricky Overwatch maps like Oasis and Ilios.
To jump across a chasm and grab a rope to cross to the other side, players are required to a particularly terrifying area. With fear of falling into the death trap below, another platform on A-site forces players to carefully strafe on a narrow bridge. B-Site has an elevated catwalk while A-site also features a Heaven area.
Abyss is VALORANT’s first map with no boundaries
Most of the maps in Valorant have gimmicks. For example, Lotus has three sites and revolving doors, Bind has teleporters, and Fracture has ziplines with unique spawn points. While talking about Abyss in Valorant, the gimmick is zero boundaries. If you aren’t careful then you’ll fall off the map. Vertical gameplay and pitfalls are the takeaways here in this secret fortress of the Scions of the Hourglass.
Key features
Below are some key features that better put Abyss into perspective.
· Two Spike sites
· Three-lane Layout
· “Death drops,” meaning losing your life if you take a wrong turn
· Creative “jump shortcuts” found throughout the map
· Branching mid-paths on the map
Joey Simas is the lead Map Designer for Valorant and he describes his inspiration for Abyss and its concepts.
“We think players want to chase that ‘clippable play’ and we wanted to lean into this by allowing more creative freedom around the map. We’ve always enjoyed high-risk high-reward gameplay and wanted to bring a bit of that thrilling danger into VALORANT without it feeling overwhelming.”
– Joey Simas, Lead Map Designer
Simas also says that the map had much more verticality at the start, with crash pads and jump pads as new mechanics. Unfortunately, those were removed, and the current state of the map was settled.
How will Abyss’ features affect VALORANT gameplay?
If the enemy team has agents with basic parkour skills or even players with movement potential, you can expect Abyss to become flank central. Its long-range angles and elevated platforms will serve sniper users well — Outlaws, Marshals, and Operators will be powerful. The Vandal will be the preferable gun of choice instead of the phantom. In addition, lurking will be crucial to preserving and reclearing space constantly. You need to be prepared for your lower-elo teammates to comically miss their rope jumps and fall to their deaths.
Which VALORANT agents will be best on Abyss?
Jett, Neon, and Raze will thrive as duelists with unique movement abilities that let them dance around Abyss’ boundaries. Raze’s satchels can send enemies careening off-map to their deaths or can help her accomplish impressive maneuvers, Neon’s speed boost means she can jump longer distances. Jett’s dash, updraft, and passive glide will allow her access to difficult areas of the map and devious off-angles.
Abyss focuses on long-range gunfights and wide-open angles so it will be difficult to smoke the entire map. Controller agents with larger, more effective smokes that cover more map space will be most effective. Valorant Omen will have a field day when using his Paranoia down Abyss’ long corridors and can lurk and teleport across the Abyss Map in Valorant. Viper’s walls may come in handy for securing post-plant sites and for covering multiple choke points.
Information and map control on Abyss will be crucial with lurk and flank potential. To secure space with Cypher trailing close behind, Killjoy will probably be the strongest Sentinel. Deadlock and Sage’s walls will likely fail to make a practical impact. Initiators with wide-range info abilities like Fade, Sova, and Skye will be best. This map will be viable for an all-duelist comp, and risky and aggressive plays will be rewarded.
The Valorant community will develop new and exciting strategies to outwit opponents as Abyss cycles into competitive play. Practice your b-hops and be careful on that rope jump.
5 Agents who can push enemies off the Valorant Abyss map
Breach
Breach is an agent in the initiator’s class, which means his job is to clear out angles and create advantageous fights for his team to take space. He is very different from an agent like Sova. He doesn’t reveal or scout out enemies but instead makes use of flashes and stuns to make life much more difficult for the enemies. He can be insanely powerful due to his unique abilities.
First up is the breach’s ability is Fault line. This is a move that you can activate, stunning players that are in front of its zone. You can charge his ability by holding LMB with this ability to increase the zone and distance that the fault line will cover.
On the defensive side, you are mostly going to use your abilities as a reaction to what the enemies do, and this is the key concept to playing breach well here. If you hear enemies about to go through a choke point, if that choke point is narrow enough and you have a good lineup available, then you may use your fault line to stun them or delay the push.
Raze
Raze is the best agent in Valorant to climb ranks within Valorant because her unique abilities do a lot of damage, and for each damage that you do enhance your combat score. Your combat score is directly tied to how much rating increase you get for a game, so use your abilities. The effective way to play Valorant Raze is to use their utility early in the round to either damage enemies or force them to back off of an angle if they want to keep away from the damage.
Blast pack is one of the most popular pieces of utility since beta. Raze mains and warm up with satchels. Blast packs are a piece of utility that must be armed before they deal damage but you can still use them for their primary function of movement and repositioning before arming them fully. It takes 1.5 seconds to arm them and they will last about 5 seconds before it explodes on a surface.
Astra
Astra Valorant is a controller, meaning she could fit the same role as Omen and Brimstone, where she throws smokes, stays alive, walks in behind her team, and spam utility to stop the Post Plant. That’s exactly what she does, with a ton more capabilities that also give her the option to lurk, watch flanks, solo hold a Bombsite, and solo execute a full site take.
Astra’s smoke gets put on a 14-second cooldown, while smokes last 15 seconds, and both charges can be on cooldown at the same time. So, after 15 seconds you will have both charges back. Use all of her abilities correctly to turn the victory on your side and punish the enemy whoever tries to cross Astra’s abilities. Combine the Valorant Astra’s abilities with other agents like Viper to make the ability more powerful and effective.
Killjoy
On the defender’s side, it would be worthwhile to place these grenades ahead of time and common chokepoints that attackers may push from. If you have the credits, then you can purchase two of these grenades, allowing you to essentially cover two choke points, which is usually enough to control a spike site.
On the attacker’s side, the grenade can be used to clear out a common position that the defender may be playing in, but it can also be useful for placing onto the spike itself. After it has been planted and then you can wait for your enemies to try to defuse the spike Before triggering the grenade to do AOE damage and delay the enemy’s abilities to take out the spike
Use your Alarmbot to safely check corners or even smoke as it is one of the best Valorant Killjoy tricks to take advantage of. For example, in the location in which the enemy is hiding, you can place your Alarmbot inside a smoke. It will reveal their whereabouts once the bot is activated. Without having to peek and expose yourself, the same applies to checking corners.
Sage
Sage’s signature ability is the healing orb. This ability is pretty self-explanatory: a left click will heal one of your teammates, and a right click will allow you to heal yourself. What makes this ability complex is having a good awareness of your health and teammate’s health all the time. When you see that your teammate has gotten into a fight and won it, you may want to check on that player’s health on the top of the screen to see if they took a lot of damage.
Valorant Sage’s Ultimate ability is resurrection. Just like the name implies, this will revive a dead teammate, giving them full health, but they will not have any armor. When using this ability, though, you want to be careful when you are approaching your dead teammate.
On the attacker side, you usually want to be in the back of your teammates, trying to support them as much as possible. Now, this does not mean baiting your teammates; wait for them to fight an enemy and get killed before you decide to peek at them.
On the defender side, the main goal for Valorant Sage is to cover a choke point and use her abilities to stall enemies for as long as possible. To fully fulfill this role, you should play the middle areas of each map. Mid is usually where attackers will be able to perform powerful split pushes, and Sage’s wall is perfect for preventing this from happening.
Valorant Abyss: Best Tips and Tricks
Abyss is the first map in Valorant where you can fall off the edge and die. There are a lot of close corners and a ton of vertical scaling that can challenge both attackers and defenders. If the agent composition is better, then the attack will seem easier. Here are all the tips and tricks that you need to know while playing Valorant Abyss Map.
Communicate with Teammates
Communication on the Abyss map is more important than on any other map in Valorant, and this might sound like a broken record. It is a simple fact that while playing on the Abyss map, you can die from falling off. Agents who can utilize abilities to push players can become brutal, especially if it’s teammates. So, be careful with the skills like Rolling Thunder, Gravity Well, or Blast Pack. It is a Breach map; using proper comms to use utilities before a peek can be helpful here in this map.
Utilize the Death Drops
The Death Drop locations are one of the key features of the Abyss Valorant Map. You can easily outplay opponents if you master these areas, but it is a risky place to play. The effective way to use the drops is by using them for fast rotations. You can do it without making any noise only if you can time your crouch and jump. Gekko’s Wingman and Yoru’s teleport can also go over the drops without falling. Use this advantage to plant the Valorant spike as Gekko or to flash peek as Yoru.
Spam the Walls
Speaking of using map advantage, the walls of Abyss are made out of plastic. This helps you spam the soul out of your foes when they don’t know where the bullet barrage is coming from. The best way to make the most out of it is by having a Fade or Sova. You can play post-plant or even deny the plant by spamming the important areas as you can generate a shootout almost anywhere.
Control mid with Operator
Remember that Mid is a crucial part of the Abyss map in Valorant. Attackers can easily rotate to any site they want if you lose control of the mid-early in the round. This is why having an Operator main planted in mid can provide you a big advantage. As the catwalk areas and library are made in a tunnel-vision format, shooting with a sniper will be way easier. Valorant Jett is the perfect agent for controlling mid in Abyss.
Use Stun and Flash Frequently
While using abilities in any map is crucial, maps where Operators are strong become more vital. You must use stun, flash, and other skills before you peek forward to counter-play opponents’ aggression or Operators. Omen and Breach can be perfect for putting aggression with their flashes, while Breach alone can put pressure on enemies constantly due to the short and close corners of the map.
Push Enemies out of Bounds
The fact that Abyss has no boundaries makes the map one of the most outplay-centric maps in Valorant. You use little tricks like Cypher trips, Breach knockback, or Astra pull to hurl enemies down to the underworld. These tips and tricks can help you win games in the Abyss map in Valorant. Keep in mind that these plays won’t work every time, trying them can be fun and give solid results.
Final Thoughts
The fights you take seem nice. You can go for cool outplays and lurks if you have good timing. There is a wide variety of positions to play, and the map also has a cool flare. This map opens up a wild new way to outplay your opponents by sending them packing straight down. Abyss is the first map in Valorant that contains no outer boundaries and a death drop in Mid, making it possible for players to fall off the map to their death in these areas.
Abyss has two other ascenders in Valorant, one to take players from B Main up to Mid Bend and the other to take players from A Site up to A Tower.