Call of Duty: Modern Warfare 3 introduces the multiplayer map, Tokyo. Tokyo map in COD MW3 is designed for the classic 6 vs 6 core multiplayer battles. This multiplayer map was released in Modern Warfare season 4 on Wednesday, May 29, 2024.
Source: https://callofduty.fandom.com/wiki/Tokyo_(map)
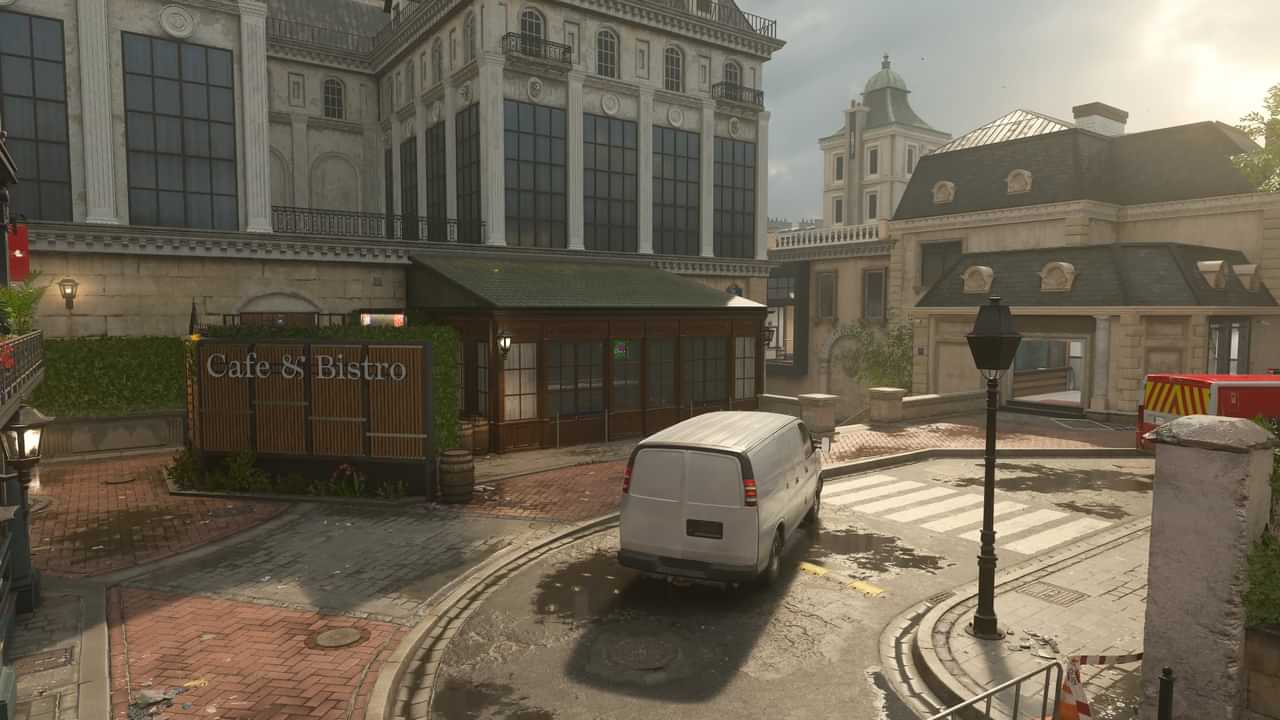
Check out Paris map guide because it was also released with this new map.
Prebrief
Gear up and ship out to Tokyo on this mid-sized Multiplayer map that drops Operators right into the city’s nightlife where entertainment, flashing ads, and late-night eateries line the courtyard and main road where the action takes place.
Besides the upper levels of the manga buildings and hotel along the bottom path, Tokyo offers the fight on the ground. Weave through the streets looking for your next target or risk close fights in the hotel and arcade. To get right down to business when the match begins, use this guide to familiarize yourself with the city block.
Intel Card – Tokyo
Get a better Map
Equip either the High-Gain antenna perk or CCT Comms Vest for the dual perk of a zoomed-out minimap and enemies remaining on your radar for a long period. For tracking enemy movement throughout the map’s twisting urban layout, the extra sight you’ll achieve on adjacent flanking paths does wonders.
Best and Only
The Manga buildings and the Hotel on either side of the center street are the only points on the Tokyo map that provide upper-level access, increasing their prevalence as power positions. Use this for your own benefit and be safe of the risk these areas pose when passing on ground level.
Rig Try
Use the I.M.S killstreak arriving in season 4, filled with smart explosives that track enemy targets when triggered. To catch enemies off guard as they rush into the building, place it in any of the map’s small interior spaces.
Tactical Overview
Squads will either spawn near West Street or East Street in team-based modes. A bustling corner of Tokyo’s nightlife lies between the two points and offers accommodations just off the metro, entertainment, and late-night shopping.
We’ve divided Tokyo into four portions based on key areas around the map:
· MAIN SPAWN POINT: West Street (+ Lanterns, Parking)
· MAIN SPAWN POINT: East Street (+ Metro, Metro Courtyard, Apartment Alley)
· ADDITIONAL AREA: Center Street (+ Manga, Apartment)
· ADDITIONAL AREA: Center Courtyard (+ Alley, Arcade, Hotel)
MAIN SPAWN POINT: WEST STREET (WEST)
Enter battle under the bright city lights in Tokyo. To impose the Manga building prevents a clear view across and to fight along the main road passing across the bottom of the map, the West Street spawn puts Operators in place. The covered Parking area offers little room to maneuver but makes for a great spot from which to trap enemy players in the immediate vicinity.
The Lanterns zone provides a slightly bigger arena with a lower portion that steps down to the upper square leading into the Hotel and the map’s border. You can use the surrounding partial walls to control your angles and cover your flank while attacking enemies on the street. You must move down the stairs out of the blast radius or burst into the Hotel to reposition if they start tossing grenades.
MAIN SPAWN POINT: EAST STREET (EAST)
To attack enemies funneling toward the road from Metro and Apartment, pull back on East Street with a mid-ranged weapon. The road offers a key defensive position and it is only effective if enemies are seeking out the area as there are no flanking paths.
Utilize the natural alcove created by the nearby parking area to take on enemies approaching from Metro, the first interior space you’ll see when moving forward on East Street. The station is a long building and has two entryways facing the Arcade and the side entry from the main road. A prime location for ambushing the passing Operator is the confined locker area inside.
The south direction of the metro, alley, and apartment running behind it leads to the map’s southern path. Climb the steps up into the building to make use of a prime power position or take the alley for a more discreet approach to Center Street.
ADDITIONAL AREA: CENTER STREET
With food stands breaking up the sidewalk, scattered vehicles fill the road along Center Street. To either side sit the map’s two major vantage points, the Apartment to the east and the Manga building to the west.
Note the two pathways coming down from the Center Courtyard while fighting across Center Street. To avoid incoming fire from the two buildings and watch your side when moving past them, use the food stands as cover when focused on these routes. Find the right balance between holding your ground near vehicles and other cover objects and quick forward movements when it’s time to fight.
Operators with precision weapons will heavily favor the Apartment buildings and Manga for their views toward the northern paths leading to the Center Courtyard up top and over Center Street. For dislodging perched enemies, though both buildings provide a smaller secondary room that can be used to evade explosions, an incoming grenade is the obvious counter.
Though the rear staircases of each building point to the only direct entrance, look for other objects and vehicles near the upper windows for the means to jump to the second level.
ADDITIONAL AREA: CENTER COURTYARD
The alley and Center Courtyard offer a more winding path across the map compared to Center Street. All fighting is confined to the ground floor here, and Arcade and Hotel bookend the Center Courtyard. They’re not power positions like Hotel and Manga; the two kiosks and the large sitting area in the courtyard obstruct views across. These features foster an environment suited to flanking tactics and close-range skirmishes.
The Hotel is the larger of the two interior points here, divided between the lobby, sleeping pods, and check-in counter. There’s more room to maneuver compared to the single-room Arcade as fights are still confined to close quarters.
Players with longer-ranged weapons will be trying to cover the northeastern Alley, a narrow pathway funneling the action toward Metro. As discussed in the Center Street section, two routes lead down from the Center Courtyard that offers vital shortcuts between the two dominant lanes crossing the environment.
Tokyo Hardpoint Rotations
Below are all the rotations and Hardpoint locations in the COD Modern Warfare 3 Map Tokyo.
· Center Courtyard
· Center Street (Bicycle Depot)
· Hotel
· Arcade
· Center Street (Burger Town Truck)
Top 10 Tips for Tokyo Map
Here are all the best tips that you must know when playing the Tokyo Map in COD MW3.
Hold on just a little longer
To improve your defenses while positioned in either Manga or the Apartment, equip the Trophy System Field Upgrade. It will keep you alive long enough to cinch that next streak.
Watch your six… three and nine
Tokyo’s loose grid layout opens multiple flanking routes throughout the map. Remain vigilant about which angles you’re exposed to and which cover pieces you can use to minimize your profile because there are always other means of reaching the target.
The route makes the weapon
Mid to long-ranged weapons will find success across the more open Center Street route while the short-ranged weapons perform better across Tokyo’s northern path. Consider your current weapon’s weaknesses and strengths in every location when selecting the best route forward.
Related: Unlock free operators skins in Cod MW3
Keep up the momentum
To fire speed out of Tactical Sprint or opt for the All-Terrain Boots to bolster your all-around movement speed while disabling Tac Sprint, gain the initiative with movement-enhancing Perks like the Running Sneakers which improve your sprint. Select the footwear that best fits your playstyle and zoom around the map eliminating target after target.
Smile for the camera
Keep the Snapshot Grenade Tactical in your Loadout and toss it into the upper floor if you don’t want to get tagged by an enemy in Manga or the Apartment while approaching Center Street. Any enemies within and who are not using the Tac Mask Perk will change into momentarily lit up which makes it simpler to usurp their position.
Bait and lure
There are times when leaving your position overly risks exposure to new enemy sight lines, especially when traversing Center Street, and aggressive play is usually recommended. Don’t resist yourself to pull back from a skirmish if it means retaining better ground. Many players will seek you out in the heat of the moment and provide you the benefit.
Make your vantage point
There may not be many second-story vantage points here, but the plentiful vending machines and vehicles scattered throughout the map can be used to gain leverage over your enemies. After hopping up, land an elimination or two, and then get back down and keep moving.
Stalk your prey
The Stalker Boots are the best Gear option in Tokyo. The increased strafe speed affects all directions of movement instead of just lateral, keeping you quick on your feet while aiming down sights no matter which way you move due to the Season 3 Reloaded update.
Jut out
For a more discreet fighting position, step up on either of the grey platforms extending over the tunnel in Center Street. If you need to adjust your angles then the large central column in each offers a thick cover that’s easy to roam around.
Out all night
For a spin to amp up the contrast on Tokyo’s nightlife, use the Enhanced Vision Goggles Field Upgrade. Not only does it make it easier to track enemy movements, but also it gives a cool look to the map. You’ll never want the night to end due to the sights like these.